7 Tools Every DIY Water System Owner Should Have
Are you tired of dealing with a malfunctioning DIY water system, only to discover that you lack the right tools to fix it? Effective maintenance and repair are crucial for ensuring a steady supply of clean water. Having the right tools can make all the difference in the outcome of your DIY projects.
Proper tooling enables DIY water system owners to perform routine maintenance, troubleshoot issues, and make necessary repairs. In this article, we will explore the essential tools that every DIY water system owner should have.
Key Takeaways
- Understand the importance of having the right tools for DIY water system maintenance
- Learn about the essential tools required for effective maintenance and repair
- Discover how to use these tools to ensure a steady supply of clean water
- Get tips on troubleshooting common issues with your DIY water system
- Find out how to perform routine maintenance to prevent system failures
The Importance of DIY Water System Maintenance
Maintaining your DIY water system is crucial for its longevity and efficiency. By performing regular maintenance tasks, you can identify and fix issues before they become major problems, ensuring your system runs smoothly and effectively.
Common Water System Issues You Can Fix Yourself
Many common issues can arise in a DIY water system, including leaks, clogged filters, and faulty pressure gauges. “Regular maintenance can help you catch these issues early,” says a water system expert. For instance, a simple leak can be fixed by tightening loose connections or replacing worn-out seals. Clogged filters can be cleaned or replaced to restore water flow and quality.
Cost Savings of DIY Water System Maintenance
By performing DIY water system maintenance, homeowners can save a significant amount of money. According to recent studies, regular maintenance can reduce repair costs by up to 50%.
“DIY maintenance not only saves money but also extends the lifespan of your water system,”
notes a plumbing specialist. By investing in a water system repair toolkit and using must-have water system tools, you can avoid costly professional repairs and keep your system running efficiently.
7 Tools Every DIY Water System Owner Should Have
As a DIY water system owner, having the right tools is crucial for maintaining and repairing your system efficiently. A well-stocked toolkit not only saves you time and money but also ensures that you can handle common issues before they become major problems.
The Essential DIY Water System Toolkit
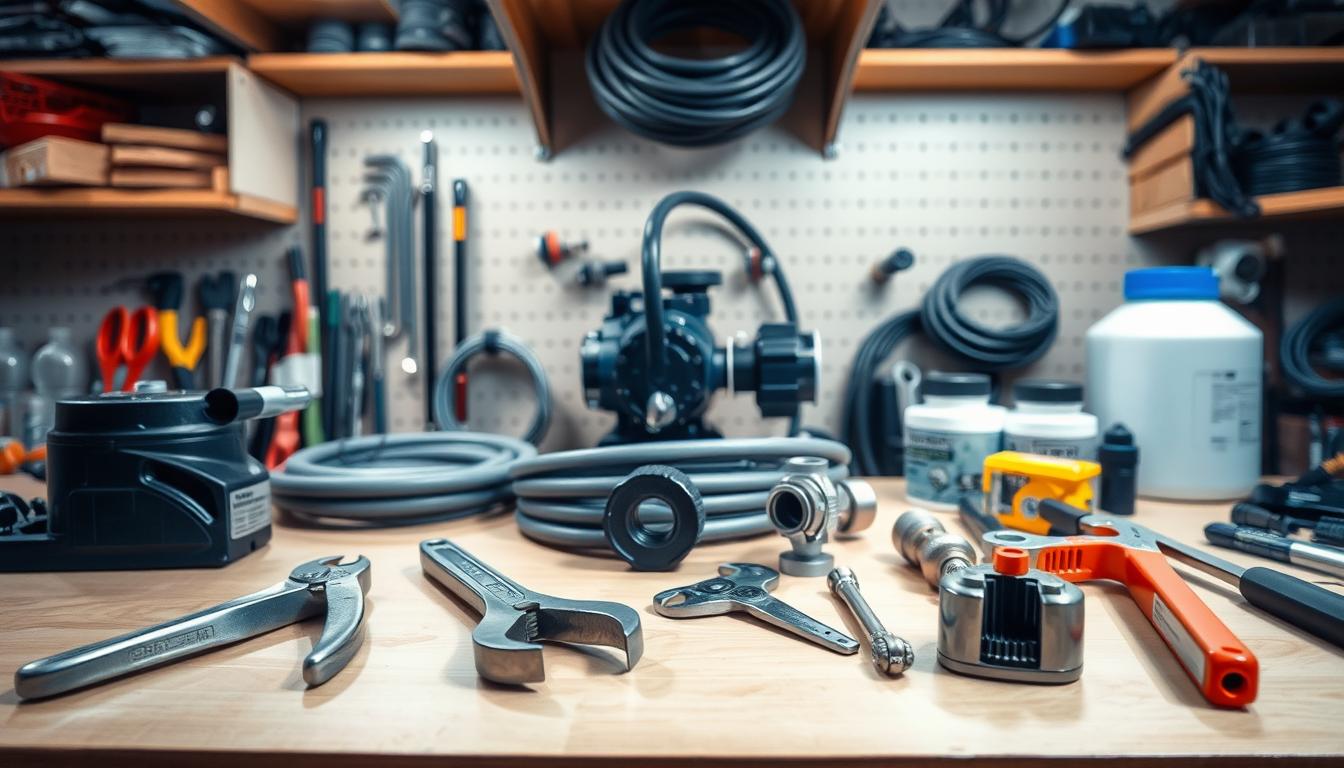
The essential DIY water system toolkit includes seven must-have tools: pipe wrenches, water pressure gauge, pipe cutter and tubing cutter, thread seal tape and pipe joint compounds, water leak detector, multimeter, and water quality test kit. These tools are designed to help you maintain, repair, and troubleshoot your water system effectively.
How These Tools Will Save You Time and Money
Having the right tools can significantly reduce the time and money you spend on maintaining and repairing your water system. For instance, a pipe wrench can help you fix leaks quickly, while a water pressure gauge can help you identify potential issues before they become major problems. By investing in these essential tools, you can avoid costly professional calls and ensure your water system runs efficiently.
| Tool | Function | Cost Savings |
|---|---|---|
| Pipe Wrench | Fixing leaks and tightening pipes | $50-$100 per visit |
| Water Pressure Gauge | Monitoring water pressure | $100-$200 per visit |
| Pipe Cutter | Cutting pipes to size | $20-$50 per visit |
Quality vs. Budget Considerations
When selecting tools for your DIY water system toolkit, it’s essential to balance quality and budget considerations. While it’s tempting to opt for the cheapest options, investing in high-quality tools can pay off in the long run. Look for tools that offer a good balance between price and performance, and consider the long-term benefits of durability and reliability.
1. Pipe Wrenches: Your First Line of Defense
A good pipe wrench is the first line of defense for DIY water system owners, enabling them to tackle common issues with confidence. Pipe wrenches are designed to grip and turn pipes and fittings, making them an essential tool for any water system repair toolkit.
Types of Pipe Wrenches for Water Systems
There are several types of pipe wrenches available, each suited for different tasks and pipe materials. The most common types include:
- Stillson wrenches: These are the most traditional type, known for their adjustable jaws that can grip various pipe sizes.
- Chain wrenches: These use a chain to encircle the pipe, providing a strong grip on larger or irregularly shaped pipes.
- Pipe wrenches with offset handles: These offer better leverage in tight spaces.
How to Properly Use a Pipe Wrench
Using a pipe wrench correctly is crucial to avoid damaging pipes or fittings. To use a pipe wrench effectively:
- Ensure the wrench is adjusted to fit the pipe snugly.
- Position the wrench so that the force is applied in the direction you want the pipe to turn.
- Apply steady pressure to avoid slipping and potential damage.
Recommended Pipe Wrench Sizes and Brands
The size and brand of pipe wrench you need can depend on the specific requirements of your water system. For most DIY tasks, a medium-sized Stillson wrench (10-12 inches) is a good starting point.
For PVC Pipes
For PVC pipes, it’s essential to use a pipe wrench with smooth jaws to prevent damage. Brands like Ridgid and Milwaukee offer high-quality options.
For Metal Pipes
For metal pipes, a heavier-duty pipe wrench with serrated jaws is recommended. Brands such as Craftsman and Klein Tools are well-regarded for their durability and performance.
By choosing the right pipe wrench for your water system, you can ensure that repairs are made efficiently and effectively, saving time and reducing the risk of further damage.
2. Water Pressure Gauge: Monitoring Your System’s Health
Monitoring water pressure is crucial for the longevity and efficiency of your DIY water system. A water pressure gauge is an essential tool that helps you keep track of your system’s pressure, ensuring it operates within a safe range.
Why Water Pressure Matters
Water pressure that is too high or too low can cause significant issues with your water system. High pressure can lead to leaks, burst pipes, and damage to appliances, while low pressure can result in inadequate water supply and poor system performance. Maintaining optimal water pressure is vital to prevent these problems and ensure the overall health of your system.
How to Read and Interpret Pressure Readings
Reading a water pressure gauge is straightforward. The gauge will display the pressure in pounds per square inch (PSI). Typical residential water systems operate between 40-60 PSI. If your reading is outside this range, it may indicate a problem that needs attention. Understanding how to interpret these readings is key to identifying potential issues before they become major problems.
Top Water Pressure Gauges for Home Use
When selecting a water pressure gauge, you have the option of digital or analog models. Both have their advantages, and the choice depends on your specific needs and preferences.
Digital Options
Digital water pressure gauges offer high accuracy and ease of reading. They often come with additional features such as backlighting, data logging, and alarms for high or low pressure. Some top digital models include:
- Model A: Known for its high precision and user-friendly interface.
- Model B: Offers advanced data logging capabilities.
Analog Options
Analog gauges are durable and reliable, often preferred for their simplicity and lack of dependence on batteries. Top analog models include:
| Model | Accuracy | Durability |
|---|---|---|
| Model C | ±1 PSI | High |
| Model D | ±0.5 PSI | Very High |
Choosing between digital and analog water pressure gauges depends on your specific needs. Digital gauges offer advanced features and precision, while analog gauges provide simplicity and reliability.
3. Pipe Cutter and Tubing Cutter: Making Clean Cuts
A pipe cutter is a vital tool for DIY water system maintenance, allowing you to make precise cuts in various pipe materials. Whether you’re working with copper, PEX, or PVC pipes, a good pipe cutter ensures clean cuts that are essential for a leak-free system.
Different Types of Cutters for Various Materials
There are several types of pipe cutters and tubing cutters available, each designed for specific pipe materials. For instance, copper pipes require a cutter that won’t damage the material, while PEX and PVC pipes need cutters that can handle their flexibility and rigidity, respectively.
- Copper Pipe Cutters: These are designed to make clean cuts without crushing the pipe.
- PEX and PVC Cutters: These cutters are made to handle the flexibility of PEX and the rigidity of PVC, ensuring precise cuts.
Step-by-Step Guide to Making Perfect Cuts
Making perfect cuts with a pipe cutter involves a few simple steps:
- Measure and mark the pipe where you need to make the cut.
- Place the pipe cutter around the pipe, ensuring it’s aligned with your mark.
- Tighten the cutter’s blade onto the pipe and rotate it around the pipe until it cuts through.
For tubing cutters, the process is similar, but you may need to adjust the tightening process based on the material.
Quality Cutters That Last for Years
Investing in a high-quality pipe cutter or tubing cutter pays off in the long run. Look for cutters made from durable materials that can withstand regular use.
For Copper Pipes
For copper pipes, consider cutters from reputable brands like Ridgid or Rothenberger, known for their precision and durability.
For PEX and PVC
For PEX and PVC pipes, PEX cutter tools specifically designed for these materials are available from brands like Jonard Tools. These ensure clean cuts without damaging the pipe.
4. Thread Seal Tape and Pipe Joint Compounds: Preventing Leaks
For DIY water system owners, understanding when to use thread seal tape versus pipe joint compounds is key to preventing leaks. Both materials are crucial for ensuring that your water system operates efficiently and safely.
When to Use Tape vs. Compounds
Thread seal tape, also known as Teflon tape, is ideal for threaded connections. It works by filling in the microscopic gaps between threads, creating a tight seal. On the other hand, pipe joint compounds, or pipe dope, are used for more robust connections and can be applied to both threaded and non-threaded joints.

Proper Application Techniques
To use thread seal tape effectively, wrap it around the male threads in the direction of the threads. For pipe joint compounds, apply a thin layer to the threads or joint, ensuring coverage of the entire surface.
Best Products for Different Pipe Materials
The choice between thread seal tape and pipe joint compounds also depends on the pipe material. For instance, for PVC pipes, a specific type of pipe joint compound is recommended.
For Threaded Connections
- Use thread seal tape for most threaded connections.
- Consider pipe joint compounds for high-pressure systems.
For Push-Fit Connections
For push-fit connections, a different approach is needed. Some pipe joint compounds are designed for these types of connections, ensuring a secure seal without damaging the pipe.
| Connection Type | Recommended Material | Notes |
|---|---|---|
| Threaded | Thread Seal Tape or Pipe Joint Compounds | Choose based on pressure requirements |
| Push-Fit | Specific Pipe Joint Compounds | Ensure compatibility with pipe material |
By understanding the appropriate use of thread seal tape and pipe joint compounds, DIY water system owners can significantly reduce the risk of leaks, ensuring their system operates efficiently.
5. Water Leak Detector: Finding Hidden Problems
Detecting hidden leaks in your water system is crucial for preventing damage and saving money. A water leak detector is an essential tool that helps you identify leaks early, reducing the risk of costly repairs and water waste.
Electronic vs. Manual Leak Detection
There are two primary types of leak detection methods: electronic and manual. Electronic leak detectors use sensors to detect moisture or changes in water pressure, providing accurate and quick results. Manual leak detection involves visually inspecting your water system for signs of leaks, which can be time-consuming but effective for small systems.
Electronic leak detectors are generally more reliable and efficient, especially for complex water systems. They can be further categorized into smart water monitors and handheld detectors.
How to Systematically Check Your System
To systematically check your water system for leaks, follow these steps:
- Turn off all water-using appliances and fixtures.
- Check your water meter to ensure it’s not moving.
- Inspect visible pipes for signs of moisture or water damage.
- Use a leak detector to scan for hidden leaks.
Affordable and Effective Leak Detectors
When choosing a leak detector, consider both effectiveness and affordability. Here are some options:
Smart Water Monitors
Smart water monitors can be connected to your smartphone, providing real-time updates on your water system’s status. Brands like Flume and WaterCop offer advanced features such as leak alerts and water usage tracking.
Handheld Detectors
Handheld detectors are portable and easy to use, making them ideal for spot checks. They are available from brands like DuroMax and General Tools.
| Detector Type | Key Features | Price Range |
|---|---|---|
| Smart Water Monitors | Real-time alerts, water usage tracking | $100-$300 |
| Handheld Detectors | Portable, easy to use | $20-$100 |
As
“A small leak can sink a great ship,”
so too can a small undetected leak cause significant damage to your water system. Investing in a reliable water leak detector is a prudent decision for any DIY water system owner.
6. Multimeter: Testing Electrical Components
For DIY water system owners, a multimeter is a vital instrument that helps ensure the electrical components are functioning correctly. Testing these components is crucial for maintaining the overall health of your water system.

Water System Electrical Components You Need to Test
Your water system’s electrical components include pump motors, control panels, and wiring. These components are critical to the system’s operation, and testing them regularly can help prevent failures.
Pump motors are a key component, and their failure can lead to significant disruptions. Using a multimeter, you can check the motor’s voltage and current draw to identify potential issues.
Basic Multimeter Testing Procedures
To use a multimeter effectively, you need to understand the basic testing procedures. Start by setting the multimeter to the correct function (voltage, current, or resistance) and range for your measurement.
- Ensure the multimeter is set to the correct function and range.
- Connect the leads to the correct terminals.
- Take the measurement and compare it to the expected value.
Recommended Multimeters for Water System Owners
When choosing a multimeter, consider the features that are important for your needs. Some recommended multimeters include:
- Fluke 87V Multimeter
- Amprobe AM-510 Multimeter
- Mastech MS8268 Multimeter
Testing Pump Motors
To test a pump motor, set your multimeter to measure voltage and check that it’s within the motor’s rated voltage. You can also measure the current draw to ensure it’s within the expected range.
Always follow safety precautions when working with electrical systems.
Testing Control Panels
Control panels can be tested by checking the voltage and current at various points within the panel. This can help identify issues such as faulty wiring or malfunctioning components.
By using a multimeter to test your water system’s electrical components, you can diagnose and fix problems efficiently, ensuring your system runs smoothly and safely.
7. Water Quality Test Kit: Ensuring Safe Water
Testing the quality of your drinking water is essential, and a water quality test kit makes this process straightforward. Ensuring that your water is safe to drink is a top priority for any DIY water system owner.
Essential Water Parameters to Test
When it comes to testing your water quality, there are several key parameters to check. These include pH levels, turbidity, presence of bacteria like E. coli, and levels of heavy metals such as lead and arsenic. A comprehensive water quality test kit should be able to test for these parameters.
How Often to Test Your Water
The frequency of testing your water depends on several factors, including the source of your water and any changes you notice in its taste, odor, or appearance. As a general rule, it’s recommended to test your water at least once a year. However, if you notice any changes, you should test it immediately.
Comprehensive Test Kits for Home Use
There are various types of water quality test kits available for home use. These range from simple, chemical-based tests to more advanced digital testing options.
Chemical Tests
Chemical test kits involve using chemical reagents to test for specific water parameters. These kits are often less expensive and can be very effective for testing basic parameters like pH and chlorine levels.
Digital Testing Options
Digital test kits, on the other hand, use electronic devices to measure water parameters. These kits can provide more accurate and detailed readings, making them ideal for comprehensive water quality analysis.
By using a water quality test kit, DIY water system owners can ensure that their drinking water is safe and healthy. Whether you opt for a chemical test kit or a digital testing solution, regular testing is crucial for maintaining water quality.
Building Your Complete Water System Toolkit
To maintain and repair your water system effectively, you’ll need a well-stocked toolkit. A comprehensive toolkit not only helps in fixing issues promptly but also in preventing potential problems.
Additional Helpful Tools
Beyond the essential tools, there are several other items that can be invaluable in maintaining your water system. These include a pipe inspection camera for diagnosing issues within pipes, a water meter to monitor your water usage, and a set of wrenches and pliers for handling various pipe sizes and types.

Tool Storage Solutions
Proper storage of your tools is crucial for maintaining an organized and efficient workspace. Consider using a toolbox with compartments or a pegboard to keep your tools organized and within easy reach.
Budget-Friendly Toolkit Assembly
Assembling a comprehensive toolkit doesn’t have to break the bank. Start with the essentials and gradually add more tools as needed. Consider purchasing tool sets or kits that offer a collection of tools at a discounted price.
| Tool | Average Cost | Usefulness |
|---|---|---|
| Pipe Inspection Camera | $100-$300 | High |
| Water Meter | $50-$100 | Medium |
| Adjustable Wrench Set | $20-$50 | High |
When to DIY vs. When to Call a Professional
As a DIY water system owner, it’s essential to know when to tackle repairs yourself and when to seek professional help. DIY maintenance can be cost-effective and empowering, but there are situations where professional assistance is necessary to prevent further damage or ensure safety.
Problems You Can Safely Handle Yourself
Many routine maintenance tasks and minor repairs can be handled by DIY enthusiasts. For example, checking and replacing worn-out seals, cleaning filters, and inspecting pipes for minor leaks are tasks that you can safely do yourself with the right tools and knowledge.
Warning Signs That Require Professional Help
However, certain situations demand the expertise of a professional. These include major leaks, significant drops in water pressure, unusual noises from the system, and signs of contamination. If you’re unsure about the severity of an issue or lack the necessary skills and tools, it’s best to seek professional help to avoid exacerbating the problem.
Finding a Reliable Water System Professional
When you need to call in a professional, ensure you find someone reliable and experienced in water system maintenance and repair. Look for licensed plumbers or water system specialists with good reviews and references. Ask about their experience with systems similar to yours and their approach to diagnosing and fixing problems.
Conclusion
Having the right tools is crucial for DIY water system maintenance. The 7 essential tools outlined in this article will help you tackle common issues, ensure your system’s health, and provide safe water.
By investing in these DIY water system tools, you’ll save time and money, and be able to identify potential problems before they become major issues. Whether you’re a seasoned DIY enthusiast or just starting out, having the essential water system tools on hand will give you peace of mind and confidence in your ability to maintain your water system.
With the right tools and a little knowledge, you’ll be well-equipped to handle routine maintenance and repairs, ensuring your water system runs smoothly and efficiently. By following the guidelines outlined in this article, you’ll be able to keep your water system in top condition, providing safe and reliable water for years to come.