DIY Guide: Fixing a Leaky Reverse Osmosis Faucet
A leaky reverse osmosis faucet can waste a significant amount of water, with a single drip per second resulting in over 3,000 gallons of wasted water per year. This not only increases your water bill but also puts unnecessary strain on our planet’s resources.
Fortunately, repairing a leaky faucet is a task you can undertake yourself with the right guidance. Our DIY guide provides a step-by-step approach to troubleshooting and fixing the issue, helping you save water and money.
Key Takeaways
- Identify common causes of leaks in reverse osmosis faucets.
- Learn how to troubleshoot and diagnose the issue.
- Follow a step-by-step guide to repair the faucet.
- Understand the importance of regular maintenance.
- Save water and reduce your utility bills.
Understanding Your Reverse Osmosis System and Faucet
Before diving into repairs, it’s essential to grasp the basics of your reverse osmosis system and its faucet. A reverse osmosis (RO) system is a water purification process that uses a partially permeable membrane to separate ions, unwanted molecules, and larger particles from drinking water. Understanding how these systems work and the components of the faucet is crucial for effective maintenance and repair.
How Reverse Osmosis Systems Work
Reverse osmosis systems work by forcing water through a semi-permeable membrane, which filters out impurities. This process improves water quality by removing contaminants, resulting in cleaner drinking water. The system’s efficiency depends on various factors, including the quality of the membrane and pre-filtration stages.
Components of an RO Faucet
An RO faucet typically consists of several key components, including the faucet base, spout, and handle. The faucet base houses the internal mechanisms, such as O-rings and seals, which are prone to wear and tear. Regular inspection of these parts is vital to prevent leaks.
| Component | Function |
|---|---|
| Faucet Base | Houses internal mechanisms |
| Spout | Directs water flow |
| Handle | Controls water dispensing |
Types of RO Faucets in the Market
There are various types of RO faucets available, including single-handle and dual-handle models. Some faucets come with additional features like air gap technology, which helps prevent backflow into the RO system. Choosing the right type of faucet depends on your specific needs and the configuration of your RO system.
“The quality of the water is directly related to the quality of the filtration system.” –
By understanding the components and types of RO faucets, you’re better equipped to diagnose and fix issues, ensuring your drinking water remains clean and safe.
Common Causes of a Leaky Reverse Osmosis Faucet
Leaks in reverse osmosis faucets often stem from a few common issues that can be easily addressed with the right knowledge. Understanding these causes is crucial for effective troubleshooting and repair.
Worn O-rings and Seals
One of the most common reasons for a leaky RO faucet is worn-out O-rings and seals. Over time, these components can deteriorate due to constant exposure to water, leading to leaks. Inspecting and replacing these parts regularly can prevent leaks.
Loose Connections
Loose connections between various parts of the RO faucet can also cause leaks. It’s essential to check all connections and tighten them as needed. However, be cautious not to overtighten, as this can damage the faucet.
Damaged Valve Seats
Damaged valve seats are another common cause of leaks. If the valve seat is damaged, it may not close properly, leading to leaks. Replacing the valve seat can often resolve this issue.
Air Gap Leaks
Air gap leaks occur when there’s an issue with the air gap device, which is designed to prevent backflow into the RO system. Clogged or improperly installed air gaps can lead to leaks. Ensuring the air gap is clean and correctly installed is vital.
To summarize, the common causes of a leaky RO faucet include:
- Worn O-rings and seals
- Loose connections
- Damaged valve seats
- Air gap leaks
Tools and Materials Needed to Fix a Leaky Reverse Osmosis Faucet
To successfully repair your reverse osmosis faucet, you’ll need to have the correct tools and replacement parts on hand. This preparation ensures that the repair process is smooth and efficient.
Essential Tools for the Job
Having the right tools is crucial for a successful DIY repair. You’ll need basic tools such as an adjustable wrench, basin wrench, and channel-type pliers for handling various parts of the faucet.
| Tool | Use |
|---|---|
| Adjustable Wrench | Tightening or loosening fittings |
| Basin Wrench | Reaching and turning mounting nuts |
| Channel-type Pliers | Gripping small parts and fittings |
Replacement Parts You May Need
Depending on the source of the leak, you may need to replace certain parts. Common replacement parts include O-rings, seals, and valve seats.
Safety Equipment
Don’t forget safety equipment like gloves and safety glasses to protect yourself during the repair.
By gathering these tools and materials, you’ll be well-prepared to tackle the repair of your leaky reverse osmosis faucet, ensuring a successful “ro water system faucet leak repair” and “troubleshooting leaking ro system faucet.”
Preparing for Your Repair
Getting ready to fix a leaky reverse osmosis faucet involves several key steps that ensure a smooth and effective repair process. Proper preparation can save you time and frustration, helping you to tackle the job with confidence.
Shutting Off Water Supply
The first step in preparing for your repair is to shut off the water supply to your reverse osmosis system. This is crucial for preventing water from continuing to leak or flow during the repair. Locate the shut-off valves and turn them clockwise to shut off the supply. It’s essential to verify that the water supply is completely off before proceeding with the repair.
Clearing Your Workspace
A cluttered workspace can lead to confusion and mistakes during the repair. Clear the area around your reverse osmosis faucet and system of any obstructions or unnecessary items. This will give you a clean and safe workspace to work in. Having a bucket or container handy to catch any remaining water in the system is also a good idea.
Documenting Your System
Before you start disassembling any parts, take a moment to document your system’s current configuration. Take photos or make notes about how the different components are connected. This documentation will be invaluable when it’s time to reassemble everything. Pay particular attention to any tubing or wiring connections.
Identifying the Leak Source
Carefully inspect your reverse osmosis faucet to identify the source of the leak. Look for signs of moisture, water droplets, or mineral deposits that can indicate where the leak is coming from. Identifying the leak source accurately is crucial for applying the correct fix. Once you’ve pinpointed the leak, you can proceed with the necessary repairs.
How to Fix a Leaky Reverse Osmosis Faucet Base
When your reverse osmosis faucet base starts leaking, it’s essential to address the issue promptly to avoid water waste. A leaky faucet base can be caused by several factors, including worn-out O-rings, loose connections, or damaged valve seats.
Disassembling the Faucet Base
To fix the leak, you first need to disassemble the faucet base. Start by shutting off the water supply to the RO system. Then, use a wrench to loosen any visible nuts or clips holding the base in place. Gently lift the base off, taking care not to damage any connected tubing.
Replacing O-rings and Seals
Inspect the O-rings and seals within the faucet base for signs of wear or damage. If you find any worn-out parts, replace them with new ones. Use the correct size and type of O-rings to ensure a proper seal. Apply a small amount of silicone-based lubricant to the new O-rings before installation.
Tightening Loose Connections
If the leak is due to loose connections, inspect the base and its connections for any signs of looseness. Use a wrench to tighten any loose fittings, but be careful not to overtighten, which can damage the threads.
Reassembling the Faucet Base
Once you’ve replaced any damaged parts or tightened loose connections, it’s time to reassemble the faucet base. Carefully place the base back onto its mounting, ensuring it’s properly aligned. Tighten the nuts or clips securely but avoid overtightening. Turn on the water supply and check for leaks.
By following these steps, you can effectively fix a leaky reverse osmosis faucet base. Regular maintenance can help prevent future leaks, ensuring your RO system operates efficiently.
Repairing a Leaking Spout on Your RO Faucet
Fixing a leaky RO faucet spout is easier than you think, and we’re here to guide you through it. A leaky spout can lead to wasted water and increased bills, but with the right steps, you can resolve the issue efficiently.
Removing the Spout Assembly
The first step in repairing a leaky spout is to remove the spout assembly. This usually involves unscrewing the spout from the faucet base. Be sure to turn off the water supply before you start to avoid any mess.
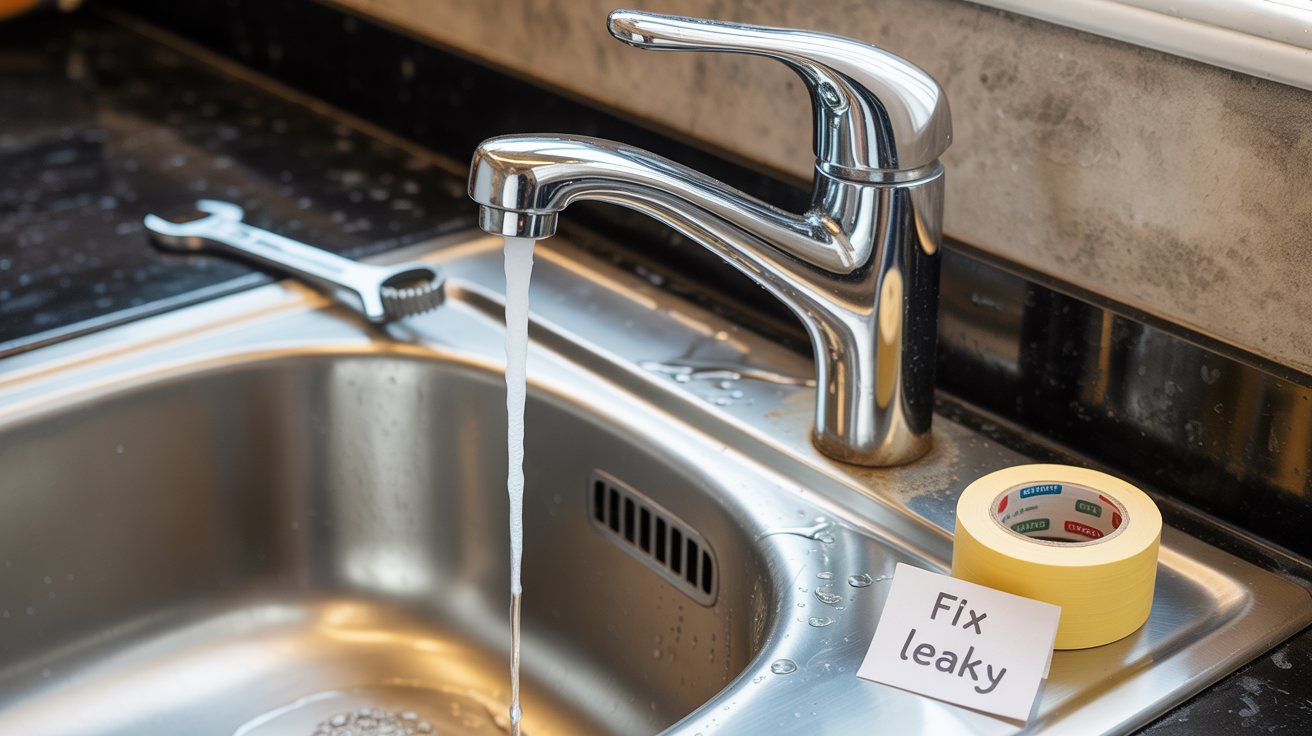
 water system. The faucet is made of shiny chrome metal, with a small drip of water slowly leaking from the tip of the spout. The background is blurred, but shows the edge of a sink basin or countertop. Soft, warm lighting illuminates the scene, creating reflections on the wet surface. The image has a crisp, detailed focus, highlighting the intricate mechanical parts and textured surfaces of the faucet. The overall mood is one of a practical, functional repair task, with a sense of care and precision required to address the leaky issue.")
Identifying and Replacing Damaged Parts
Once the spout assembly is removed, inspect it for worn-out or damaged parts. Common culprits include worn O-rings or damaged valve seats. Replacing these parts is usually straightforward and can be done with basic tools.
To identify the damaged parts, look for signs of wear or mineral buildup. If you’re unsure, consult your faucet’s manual or manufacturer’s website for guidance.
Fixing Dripping Issues
After replacing the damaged parts, reassemble the spout and check for drips. If the leak persists, you may need to tighten the packing nut or replace the faucet cartridge.
Testing After Reassembly
Once you’ve reassembled the spout, turn on the water supply and check for leaks. Run both hot and cold water through the faucet to ensure the issue is resolved.
| Step | Action | Notes |
|---|---|---|
| 1 | Turn off water supply | Essential to avoid water mess |
| 2 | Remove spout assembly | Unscrew from faucet base |
| 3 | Inspect and replace damaged parts | Look for worn O-rings or damaged valve seats |
| 4 | Reassemble and test | Check for leaks with water supply on |
By following these steps, you should be able to fix the leaky spout on your RO faucet. If the issue persists, it may be time to consult a professional.
Fixing Air Gap Leaks in Reverse Osmosis Systems
Fixing air gap leaks is crucial for maintaining the efficiency and hygiene of your reverse osmosis system. The air gap is a critical component that prevents wastewater from backing up into the RO system, ensuring clean drinking water.
Understanding the Air Gap Function
The air gap in a reverse osmosis system serves as a physical separation between the wastewater drain line and the RO faucet. This separation prevents contaminated water from re-entering the drinking water supply, thus safeguarding the water quality.
Clearing Blockages in Drain Lines
One common cause of air gap leaks is blockages in the drain lines. To clear these blockages, inspect the drain lines for any kinks, debris, or buildup. Use a plumbing snake or a cleaning solution to remove any obstructions.
Replacing the Air Gap Module
If the air gap is damaged or corroded, it may need to be replaced. To do this, turn off the water supply, disconnect the old air gap module, and install a new one. Ensure all connections are secure to prevent future leaks.
Proper Installation Techniques
Proper installation of the air gap module is crucial to prevent future leaks. Ensure that the air gap is correctly aligned and securely fastened. Check for any signs of leakage after reassembly.
| Common Issues | Solutions |
|---|---|
| Blockages in drain lines | Inspect and clear debris |
| Damaged air gap module | Replace with a new module |
| Improper installation | Ensure correct alignment and secure fastening |
Troubleshooting Persistent Leaks in Your RO System
When your RO faucet continues to leak despite your best repair efforts, it’s crucial to methodically troubleshoot the system. Persistent leaks can lead to water waste and decreased system efficiency.
Checking Tubing Connections
First, inspect all tubing connections for signs of wear or damage. Loose or improperly connected tubing can cause leaks. Ensure all connections are secure and not damaged.
Inspecting the Tank Valve
The tank valve is another potential source of leaks. Check the valve for any signs of damage or wear. If necessary, replace the valve to stop the leak.

Testing Pressure Levels
Abnormal pressure levels can also cause leaks. Use a pressure gauge to check the system’s pressure. If it’s too high or too low, adjust the system accordingly to prevent further leaks.
When to Replace the Entire Faucet
If troubleshooting doesn’t resolve the leak, it might be time to replace the entire faucet. Old or corroded faucets may be beyond repair. Consider the cost and decide whether replacement is the most economical solution.
By following these steps, you can effectively troubleshoot and potentially fix persistent leaks in your RO system, ensuring it operates efficiently and effectively.
When to Call a Professional to Fix Your Leaky Reverse Osmosis Faucet
Not every leaky reverse osmosis faucet can be fixed with DIY solutions; sometimes, calling a professional is the best course of action. While many leaks can be resolved with simple repairs, complex issues may require specialized knowledge and tools.
Signs of Complex System Issues
If you notice persistent leaks despite attempting DIY fixes, or if the leak is accompanied by other system malfunctions, it’s a sign of a more complex issue. Multiple faulty components or a failing RO system may be the culprit.
Cost Comparison: DIY vs. Professional Repair
While DIY repairs can be cost-effective, repeated attempts without resolving the issue may end up being more expensive. Professional technicians can diagnose and fix the problem efficiently, potentially saving you money in the long run.
Finding a Qualified RO System Technician
To find a qualified technician, look for professionals with experience in RO system repairs. Check online reviews, ask for referrals, and ensure they have the necessary certifications.
Conclusion: Enjoying Your Leak-Free Reverse Osmosis System
Now that you’ve successfully fixed your leaky reverse osmosis faucet, it’s time to enjoy the benefits of your newly repaired system. By following the steps outlined in this guide, you’ve not only saved money on potential water damage but also ensured the longevity of your RO system.
To maintain your system and prevent future leaks, regularly inspect your faucet and RO system components. Check for worn O-rings and seals, and replace them as needed. Ensure all connections are secure, and the air gap is functioning correctly. By doing so, you’ll be able to enjoy clean drinking water while minimizing the risk of leaks and other issues.
When troubleshooting leaking RO system faucet issues, remember to stay calm and methodically work through the problem. If you’re ever unsure about how to fix leaky reverse osmosis faucet issues or encounter complex problems, consider consulting a professional for assistance.