Fixing Your Leaking RV Water Hose Connection
Have you ever wondered why water leaks from your RV hose connection, and how you can fix it? It’s an annoying issue that can potentially lead to larger water damage problems if not addressed promptly. Understanding the root cause of a leaky RV water hose connection can save you time, frustration, and money. Let’s take a thorough look at how you can fix your RV’s water hose connection issues with simple, practical steps.

Understanding the Basics of RV Water Hose Connections
Before diving into the solution, it’s essential to know the components involved in an RV water hose connection. Congratulate yourself on this interest because understanding these basics will make the repair process easier. Your RV’s water system comprises various parts, including the water hose, connectors, seals, and valves, each playing a crucial role in ensuring a leak-free system.
The Importance of a Secure Connection
A secure connection is crucial in preventing leaks. The connection between the hose and the RV should be tight enough to not allow water to escape but not overly tight to cause damage to the connectors. If you’re noticing water escaping at the connection point, it might indicate an issue you need to address immediately.
Components Worth Knowing
Typically, an RV water hose connection includes:
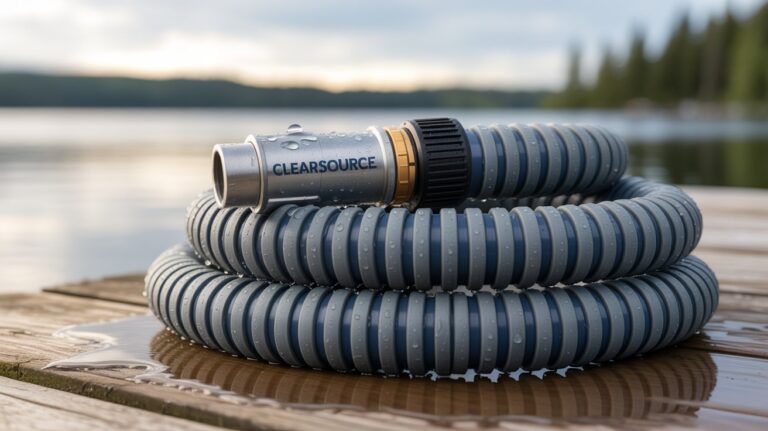
- Water Hose: The conduit allowing water into your RV. Hoses come with various features and materials suitable for different water qualities and climates.
- Connectors/Fittings: These include the female and male ends that attach your hose to the RV or other hoses. Ensuring these components are compatible is vital.
- Rubber Washer (Gasket): A small but critical element, the rubber washer can often be the culprit in a leak.
- Threaded Connection: The area where the hose attaches to the RV’s inlet or other plumbing fixtures.
Understanding these parts will make troubleshooting and fixing much simpler.
Identifying the Cause of the Leak
It’s important to assess where the leak is coming from. This evaluation will point you in the right direction for solutions. Keep in mind that a leak can occur due to several reasons, and identifying the cause is half the battle.
Is It the Hose?
The first and often the simplest issue to spot is a problem with the hose itself. Look out for any cracks, punctures, or general wear and tear. Age and excessive weather exposure can deteriorate your hose significantly.
Faulty Connectors
Connectors can wear out or become damaged. A disparity in size or style between your connector and your RV’s inlet can also cause a poor fit, leading to leaks.
The State of the Rubber Washer
A common and often overlooked issue is a damaged or misplaced rubber washer. Washers ensure a watertight seal at the connection joint. If these are absent, worn out, or incorrectly positioned, they can cause leaking.
Checking the Threads
Inspect the threads on both the hose connector and the RV connection point. Cross-threading or damaged threads can prevent a tight seal, leading to a leak.
Step-by-Step Guide to Fixing a Leaking RV Water Hose Connection
The good news is that fixing a leaky RV water hose connection is typically something you can do yourself. It requires basic tools and a little knowledge about the parts and processes involved.
Step 1: Inspect and Replace the Hose
Begin by inspecting the entire length of your hose. Look for visible damage such as cracks or holes. If the hose is damaged beyond repair, replacing it is your best option. Select a hose that fits your RV needs, considering length, durability, and weather resistance.
Step 2: Examine and Fix Connectors
Inspect your connectors for wear or damage. In some cases, simply tightening the connection may solve the problem. However, if the connectors themselves are damaged, consider replacing them. Make sure any replacements are compatible with your hose and RV fittings.
Step 3: Assess the Rubber Washer
Remove the connector and inspect the rubber washer. If it’s worn or cracked, it will need replacement. Ensure the new washer is of the correct size and properly seated within the connector to create a tight and effective seal.
Step 4: Address Threaded Connection Issues
Check the threaded connection for cross-threading or damage. Clean any debris that might prevent a good seal. If threads are damaged, consider tapping or replacing the part.
Step 5: Test the Connection
Once all adjustments and replacements are made, reattach the hose to the RV’s water system. Turn on the water supply and closely monitor the connection point for leaks. Tighten gently if a small drip persists—oftentimes, minor adjustments can resolve lingering leaks.
Preventative Measures to Avoid Future Leaks
Investing time in preventing water hose leaks is a wise strategy. Regular maintenance and checking can save you from the inconvenience of repeated repairs.
Regular Inspection
Regularly inspect your water hose and connections for signs of wear. Just a simple check can catch potential problems early, making them easier to fix before they worsen.
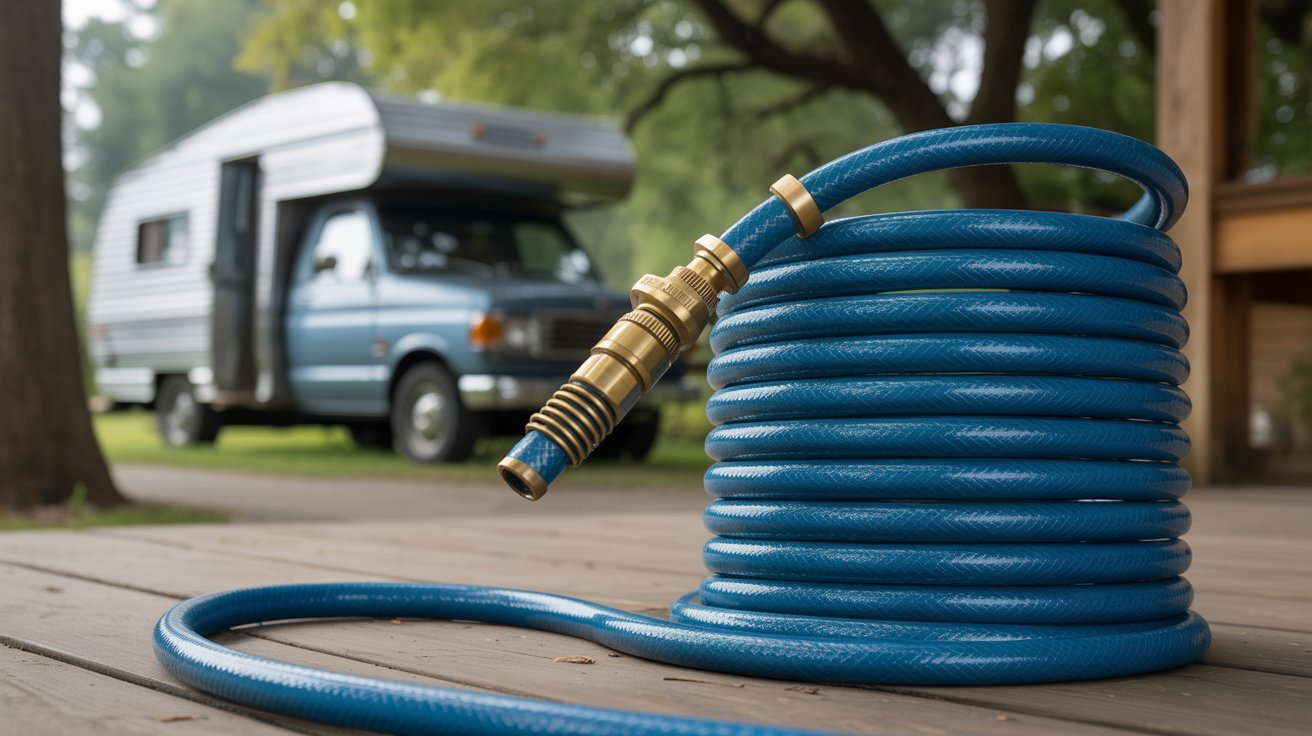
Proper Storage
Storing your hose properly when it’s not in use can extend its life. Keep it protected from direct sunlight and harsh weather conditions. Coiling your hose neatly and storing it in a dry location helps prevent cracks and kinks that lead to leaks.
Using Quality Components
Inexpensive materials can lead to costly repairs. Invest in high-quality hoses and connectors that are known for durability and reliability.
Troubleshooting Common RV Water Connection Issues
Just in case the issue persists, knowing how to troubleshoot common RV water connection problems can assist in identifying and addressing less apparent issues.
Misaligned Threads
Improperly aligned threads during connection can cause leakage. If you face difficulty threading the connections, realign and try again gently.
Over-Tightened Connections
It might sound counterintuitive, but over-tightening connections can cause leaks by damaging threads or deforming washers. Gentle snugging is often sufficient.
Type of Water Source
Different water sources can introduce issues; for instance, hard water deposits may lead to blockages or leaks due to mineral buildup. Consider installing a water softener if necessary.
Frequently Asked Questions About RV Hose Leaks
Why does my RV water hose keep leaking even after replacing the washer?
If leaks persist, the issue might lie with the connectors or the hose itself, not just the washer. Inspect these other components for damage or incompatibility.
Can I use Teflon tape to fix a leaky connection?
Teflon tape can create an additional seal, particularly on threaded connections, but it is not a long-term solution if the main issue is damage to components.
How often should I replace my RV water hose?
This varies based on usage and climate conditions. Inspect your hose regularly, and consider replacement every few years or as soon as you notice signs of wear.
What type of hose is best for RVs?
Choose a hose labeled as safe for potable water, ensuring it’s free of lead and other harmful chemicals. Consider durability, length, and resistance to the elements.
Can a flexible hose help reduce leaks?
Flexible hoses can reduce the stress at connection points, potentially decreasing the likelihood of leaks. They might be an excellent replacement, especially in tight spaces.
Conclusion
Fixing a leaking RV water hose connection doesn’t have to be an overwhelming task. By understanding the basic components and following structured steps, you can tackle the problem effectively. Regular checks and proper maintenance are keys to preventing future leaks, ensuring your RV water system functions perfectly. With a little patience and the right materials, you’ll have your RV hose connection leak-free and your adventures running smoothly in no time.