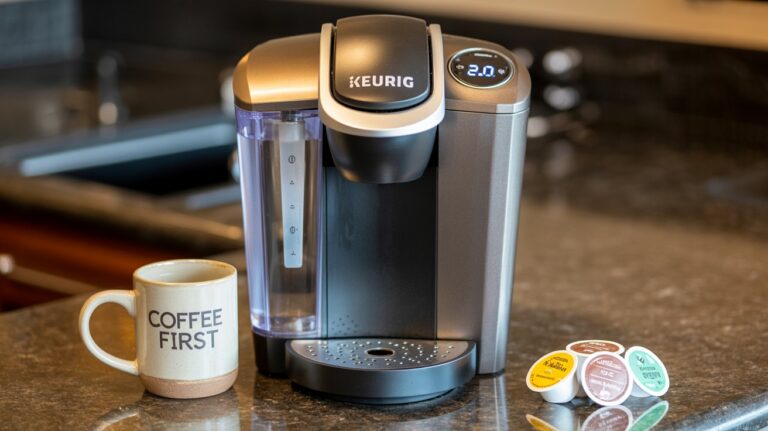
How to Replace Keurig 2.0 Water Filter
Are you experiencing a decline in the taste of your coffee, suspecting that your Keurig2.0 might be the culprit?
Replacing the water filter is a crucial maintenance task that can significantly improve the flavor and quality of your brews.
To start, simply place the new filter cartridge in a glass of clean water and let it soak for 5 minutes. This easy step ensures your Keurig2.0 is ready for optimal performance.
Key Takeaways
- Replacing the water filter improves coffee taste.
- Soaking the new filter cartridge is a crucial step.
- Regular maintenance ensures optimal Keurig2.0 performance.
- A simple process to follow for a better brewing experience.
- Enhance your coffee’s flavor with a new water filter.
The Importance of Water Filters in Your Keurig2.0
Water filters play a crucial role in the optimal functioning of your Keurig2.0 machine, impacting both the taste of your coffee and the longevity of the device. A good water filter is essential for removing impurities from the water, which can significantly affect the overall performance of your coffee maker.
How Water Filters Improve Coffee Taste
The taste of your coffee is directly influenced by the quality of the water used. Impurities in the water can lead to an unpleasant flavor. “Using a water filter in your Keurig2.0 ensures that the water is clean and free from minerals that can alter the taste of your coffee,” says a coffee connoisseur. By filtering out these impurities, the water filter helps to bring out the true flavor of your coffee, making every cup taste better.
How Filters Protect Your Keurig Machine
Besides improving the taste of your coffee, the water filter also protects your Keurig2.0 machine from damage caused by mineral buildup. Scale buildup can lead to machine failure if not properly maintained. Regularly replacing the water filter is a simple yet effective way to extend the life of your Keurig2.0 and prevent costly repairs. This maintenance task is crucial for troubleshooting keurig2.0 water filter replacement issues and ensuring the longevity of your machine.
When to Replace Your Keurig2.0 Water Filter
To keep your Keurig2.0 brewing at its best, understanding when to change the water filter is essential. Regular replacement ensures your coffee tastes great and your machine operates efficiently.
Recommended Replacement Schedule
It’s generally advised to change your Keurig2.0 water filter every two months. However, the exact replacement schedule can depend on your usage. If you use your Keurig frequently, you might need to replace the filter more often.
| Usage Level | Recommended Replacement Interval |
|---|---|
| Low | Every 3-4 months |
| Medium | Every 2 months |
| High | Every 1-2 months |
Signs Your Filter Needs Changing
If you notice a decrease in your coffee’s taste or a reduction in your Keurig’s performance, it might be a sign that the water filter needs to be replaced. Other indicators include a change in the water flow or an increase in the noise your Keurig makes during operation.
By paying attention to these signs and adhering to a regular replacement schedule, you can ensure your Keurig2.0 continues to function optimally and your coffee remains delicious.
What You’ll Need for the Replacement Process
To ensure a smooth replacement process, you’ll need to have a few key items on hand. Replacing your Keurig2.0 water filter is a straightforward task when you’re well-prepared.
Required Materials and Tools
The materials needed for replacing the Keurig2.0 water filter are minimal but essential. You’ll need a new Keurig2.0 water filter, which is specifically designed for your machine. Additionally, having a clean cloth or paper towel on hand can be helpful for any spills or wiping down surfaces.
Types of Compatible Keurig2.0 Water Filters
When it comes to compatible water filters for your Keurig2.0, there are a few options to consider. The most recommended filter is the genuine Keurig brand filter, designed specifically for Keurig2.0 machines. There are also third-party filters available, which can be more cost-effective but ensure they are compatible with your machine model.
| Filter Type | Compatibility | Price Range |
|---|---|---|
| Genuine Keurig Filter | Keurig2.0 Machines | $10-$15 |
| Third-Party Filters | Varies by brand | $5-$10 |
Preparing for the Replacement Process
Preparing for the replacement of your Keurig2.0 water filter involves a few crucial steps. Ensuring you have the right materials and a suitable workspace will make the process smoother and more efficient.
Purchasing the Right Replacement Filter
To start, you need to purchase the correct replacement filter for your Keurig2.0 machine. It’s essential to check your machine’s model number to ensure compatibility. You can find this information in your user manual or on the manufacturer’s website. Genuine Keurig filters are recommended, but third-party compatible filters can also be an option. Make sure to read reviews and check the product description to confirm compatibility.
Setting Up Your Workspace
Next, set up your workspace to facilitate an easy replacement process. Clear a flat surface near your Keurig machine to lay out the necessary tools and the new filter. Ensure the area is well-lit and free from any obstructions. Having a damp cloth nearby can be helpful for cleaning any spills. By organizing your workspace, you’ll be able to focus on the replacement process without any distractions.
How to Replace Keurig2.0 Water Filter: Step-by-Step Guide
To keep your Keurig2.0 brewing at its best, follow this step-by-step guide to replace the water filter. Replacing the filter is a simple process that ensures your coffee tastes great and your machine remains in good condition.
Removing the Water Reservoir
The first step in replacing your Keurig2.0 water filter is to remove the water reservoir. Lift the reservoir straight up and away from the machine. It’s essential to empty the reservoir before proceeding to avoid any spills.
Empty the reservoir by pouring out any remaining water into the sink. This will make it lighter and easier to handle in the subsequent steps.
Taking Out the Old Filter Holder
Once the reservoir is removed and emptied, you’ll need to locate the filter holder inside it. The filter holder is usually found at the bottom or side of the reservoir, depending on your Keurig2.0 model. Gently pull out the filter holder.
Preparing the New Filter
Before installing the new filter, separate the bottom plastic piece from the old filter holder and rinse off any mesh or debris. This step is crucial for ensuring the new filter works correctly.
Take the new filter cartridge and place it in the bottom piece you’ve just cleaned. Make sure it’s securely positioned according to the manufacturer’s instructions.
Installing the New Filter in the Holder
With the new filter cartridge in place, reassemble the filter holder by attaching it back to the bottom piece. Ensure it’s properly aligned and clicked into position.
Check that the new filter is correctly installed by gently tugging on it. It should be snug and not come loose easily.
Reinstalling the Filter Assembly
Finally, put the filter assembly back into the water reservoir. Make sure it’s properly seated and the reservoir is ready to be refilled with fresh water.
Once everything is back in place, refill the reservoir and return it to the Keurig2.0 machine. Your device is now ready to brew with a fresh water filter.
Post-Replacement Setup and Testing
Replacing the water filter is just the first step; now it’s time to ensure your Keurig2.0 is working correctly. After installing a new water filter, it’s essential to run the initial water cycle and verify that everything is working as expected.
Running the Initial Water Cycle
To start, you’ll need to run a water cycle through your Keurig2.0 machine. This process helps to clear out any airlocks and ensures that the new filter is functioning properly. Simply lift the handle, pour fresh water into the reservoir, and run a brewing cycle without a K-cup. Repeat this process a few times to guarantee that the system is fully flushed.
Key steps for running the initial water cycle:
- Lift the handle and pour fresh water into the reservoir.
- Run a brewing cycle without a K-cup.
- Repeat the process a few times.
Verifying Proper Installation
After running the initial water cycle, it’s crucial to verify that the new filter is installed correctly. Check for any signs of leakage around the filter and ensure that the machine is recognizing the new filter. If your Keurig2.0 has a digital display, it should indicate that the filter is properly installed.
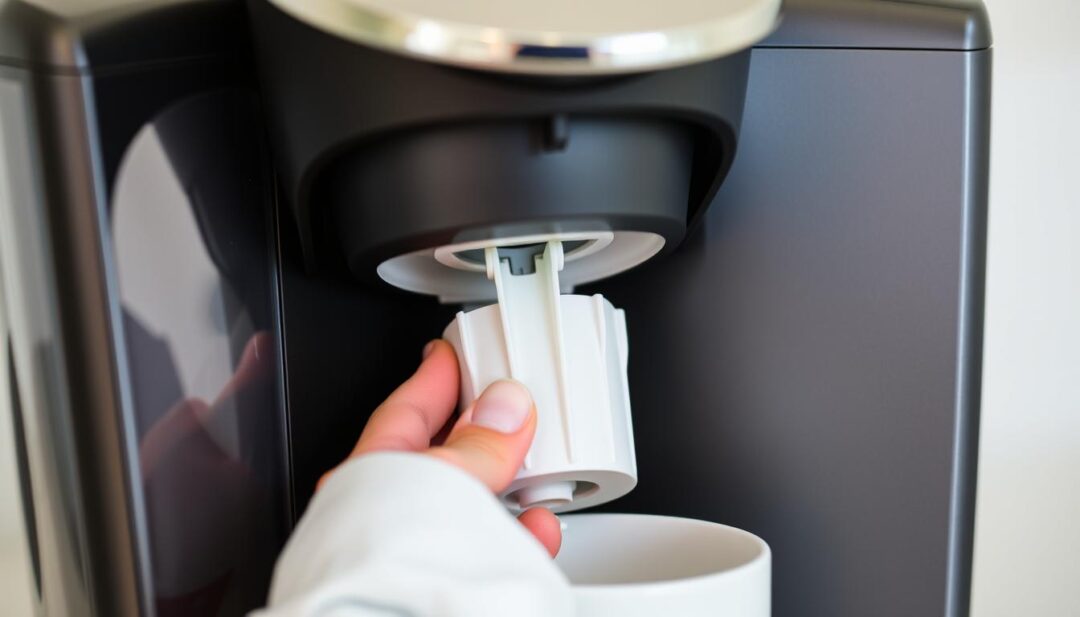
| Verification Steps | Expected Outcome |
|---|---|
| Check for leakage around the filter. | No signs of water leakage. |
| Verify machine recognition of the new filter. | Digital display confirms proper installation. |
| Run a test brew cycle. | Coffee or water flows correctly without issues. |
By following these steps, you can ensure that your Keurig2.0 is working correctly and that your new water filter is properly installed. Regular maintenance, including replacing the water filter, is vital for the longevity and performance of your machine.
Maintaining Your Keurig2.0 Water Filter
To keep your Keurig2.0 brewing at its best, regular water filter maintenance is essential. A well-maintained water filter not only ensures great-tasting coffee but also prolongs the life of your machine.
Weekly Maintenance Tips
Performing simple weekly maintenance tasks can significantly impact the performance and longevity of your Keurig2.0 water filter. Here are some tips:
- Check the water reservoir regularly for any signs of contamination or mineral buildup.
- Clean the water reservoir and surrounding areas with a soft cloth and mild soap.
- Run a water cycle through the machine without a K-cup to flush out any debris.
For more detailed cleaning instructions, you can refer to this guide on cleaning your Keurig coffee maker.
Strategies for Extending Filter Life
Extending the life of your Keurig2.0 water filter involves a few simple strategies. First, use filtered water in your Keurig2.0 to reduce mineral deposits. Second, descale your machine regularly to prevent scale buildup, which can clog the filter. The frequency of descaling depends on the water hardness in your area.
| Water Hardness | Descaling Frequency |
|---|---|
| Soft | Every 6 months |
| Medium | Every 3 months |
| Hard | Every 1-2 months |
By following these tips, you can enjoy better-tasting coffee and extend the life of your Keurig2.0 water filter.
Troubleshooting Common Filter Replacement Issues
While replacing the water filter in your Keurig 2.0 is generally a simple task, some users may encounter a few common problems. Understanding how to troubleshoot these issues can ensure your coffee maker continues to function optimally.
Filter Not Fitting Properly
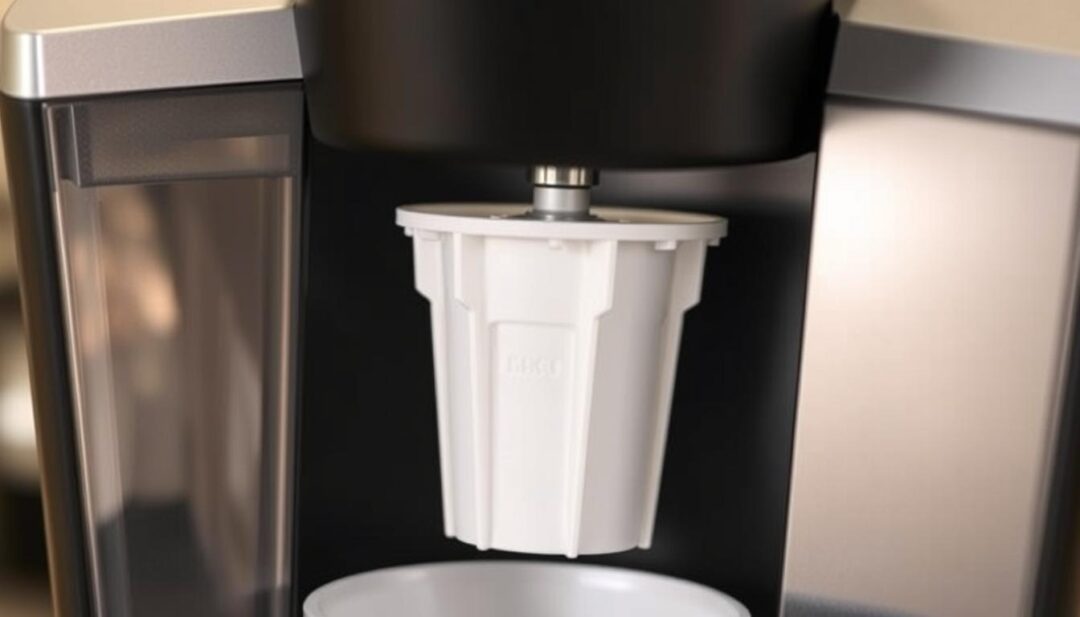
If the new filter doesn’t fit properly, check that you’ve removed any packaging and that it’s aligned correctly with the reservoir. Ensure you’re using a compatible Keurig 2.0 filter.
Water Leakage Problems
Water leakage can occur if the filter or reservoir isn’t properly seated. Check for any signs of damage or misalignment and reseat the components as needed. Regularly cleaning the area around the filter can also prevent leakage.
Coffee Taste Issues After Replacement
If your coffee tastes off after replacing the filter, try running a few cycles with just water to clear out any residual impurities. Also, ensure your water quality is good, as this can significantly affect taste.
Machine Not Recognizing New Filter
If your Keurig 2.0 doesn’t recognize the new filter, try resetting the machine by turning it off, waiting a few minutes, and then turning it back on. Ensure the filter is properly installed and compatible with your model.
By addressing these common issues, you can enjoy a seamless coffee-making experience with your Keurig 2.0. Regular maintenance and proper installation are key to optimal performance.
Alternative Filter Options for Keurig2.0
Exploring alternatives to the official Keurig2.0 water filter can provide users with more choices and potentially cost-effective solutions. While the standard filter is designed to work seamlessly with the Keurig2.0, other options are available that can offer similar or improved performance.
Third-Party Compatible Filters
Third-party compatible filters are a viable alternative to the official Keurig2.0 water filter. These filters are designed to be compatible with the Keurig2.0, offering potentially similar performance at a lower cost. When selecting a third-party filter, it’s essential to choose a reputable brand to ensure quality and compatibility. For more information on replacing your Keurig water filter, you can visit CNET’s guide on how to replace your Keurig water.
Reusable Filter Solutions
Reusable filter solutions offer another alternative for Keurig2.0 owners. These filters can be cleaned and reused multiple times, potentially reducing waste and saving money in the long run. However, it’s crucial to follow the manufacturer’s instructions for cleaning and maintenance to ensure the filter continues to perform effectively. Reusable filters can be a convenient and eco-friendly option for those looking to reduce their environmental impact.
Conclusion
Properly replacing and maintaining your Keurig2.0 water filter is crucial for optimal performance and great-tasting coffee. By following the steps outlined in this guide, you’ve ensured your machine continues to function efficiently.
Regular keurig2.0 water filter maintenance not only improves the taste of your coffee but also protects your machine from potential damage caused by mineral buildup. To keep your Keurig2.0 in top condition, remember to replace the water filter as recommended.
Understanding how to replace Keurig2.0 water filter is just the first step. Ongoing maintenance is key to enjoying a perfect cup of coffee every time. By staying on top of filter replacements and following the maintenance tips provided, you’ll extend the life of your Keurig2.0 and maintain its performance.


