How to Test the Effectiveness of Your DIY Water Filter
Creating a DIY water filter can be an engaging and educational project, whether you’re preparing for an outdoor adventure, looking to improve your home water quality, or simply exploring sustainable living practices. However, once you’ve constructed your filter, it’s crucial to ensure that it effectively removes contaminants and provides safe drinking water. In this blog post, we will guide you through the steps to test the effectiveness of your DIY water filter.
Understanding Water Contaminants
Before diving into testing methods, it’s essential to understand what contaminants you might be dealing with. Common water pollutants include:
- Sediments: Dirt, sand, and other particulate matter.
- Microorganisms: Bacteria, viruses, and protozoa that can cause illness.
- Chemicals: Heavy metals (like lead and mercury), pesticides, and chlorine.
- Taste and Odor Compounds: Substances that affect the flavor and smell of water.
Knowing what you’re filtering will help you choose the right testing methods.
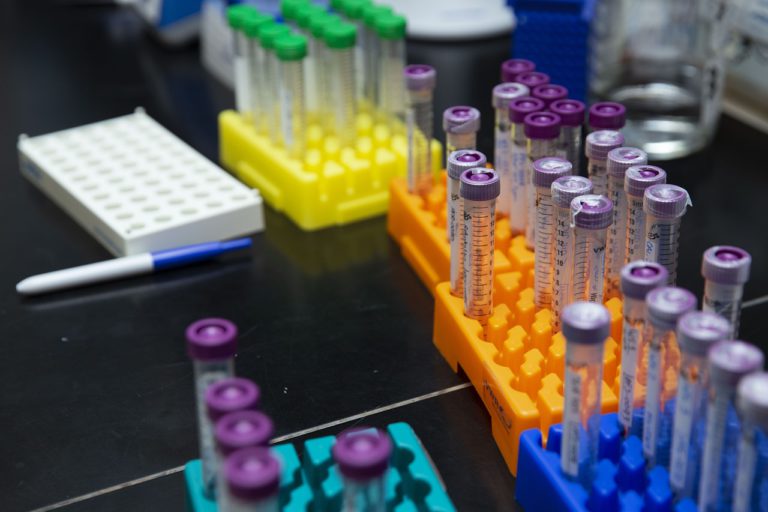
Materials Needed for Testing
To effectively test your DIY water filter, gather the following materials:
- Water Samples: Collect samples from various sources (tap water, pond water, etc.) for comparison.
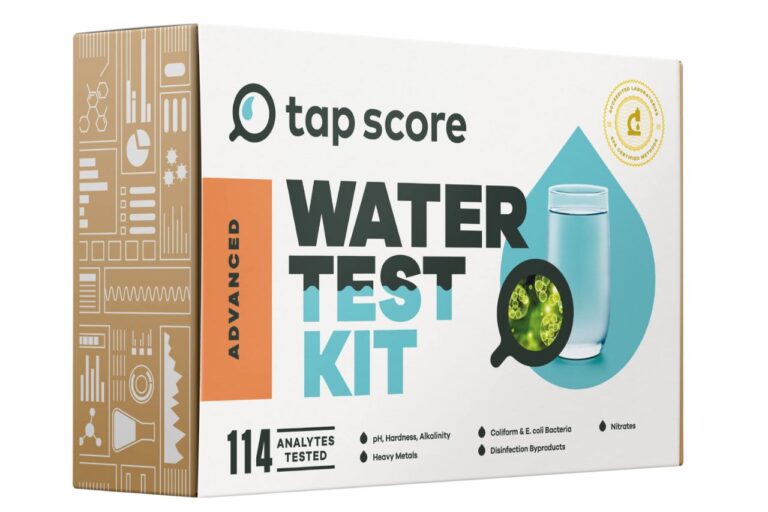
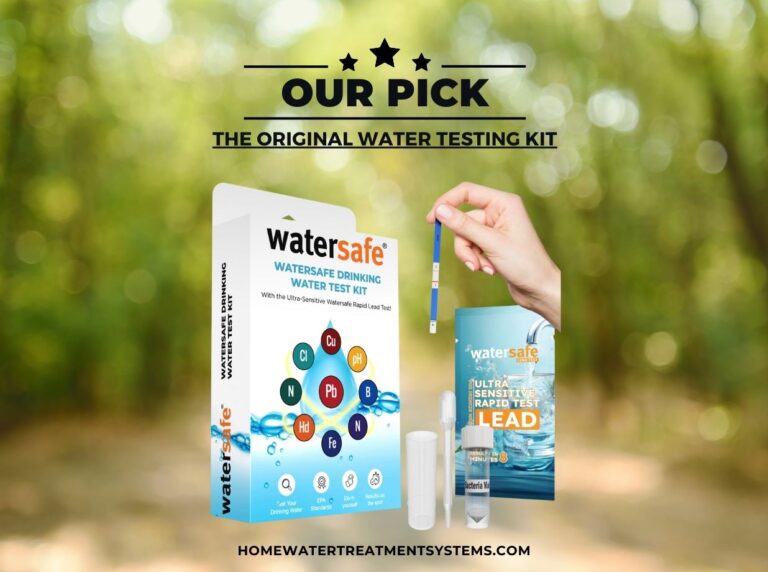
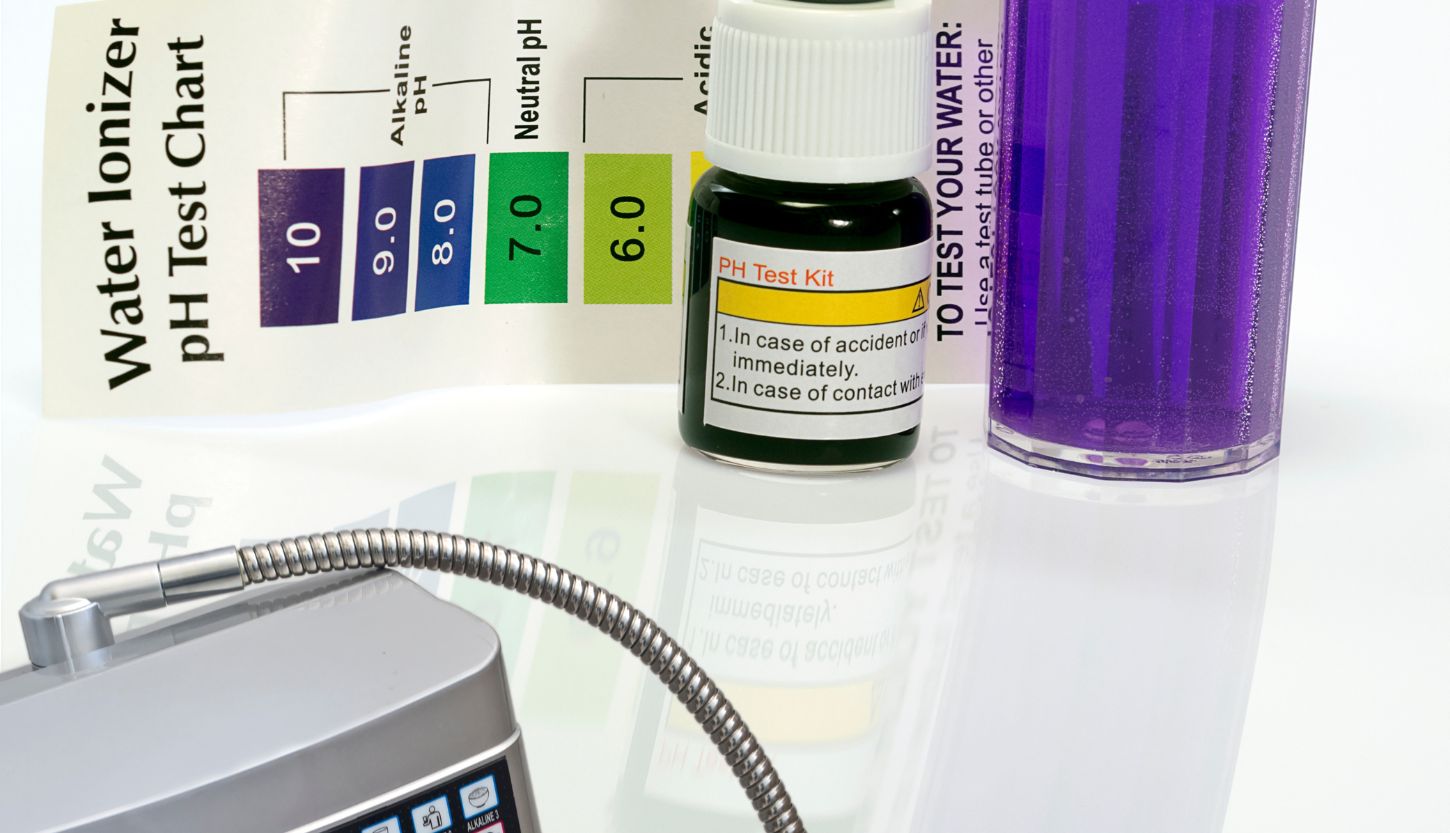
- Testing Kits: Purchase or borrow water testing kits that can measure pH levels, turbidity (cloudiness), bacteria presence, and specific contaminants like heavy metals.
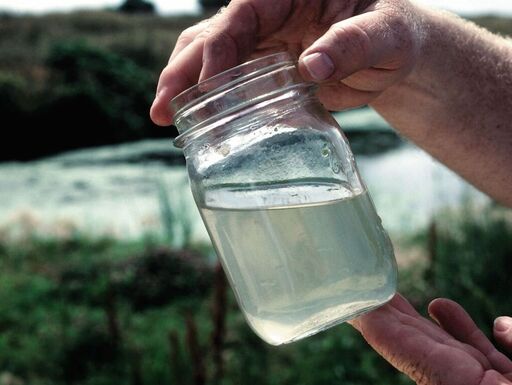
- Clear Containers: Use transparent bottles or jars to observe changes in clarity before and after filtration.
- Measuring Tools: A ruler or measuring cup for precise measurements of filtered vs. unfiltered water.
- Notebook and Pen: For recording observations and results.

Step-by-Step Testing Process
Step 1: Prepare Your Water Samples
- Collect Unfiltered Water: Gather samples from different sources to see how well your filter performs under various conditions.
- Label Your Samples: Clearly label each container with the source of the water and any relevant details (e.g., date collected).
Step 2: Measure Initial Parameters
Before filtering the water, measure key parameters:
- Turbidity: Use a turbidity meter if available; otherwise, observe visually for cloudiness.
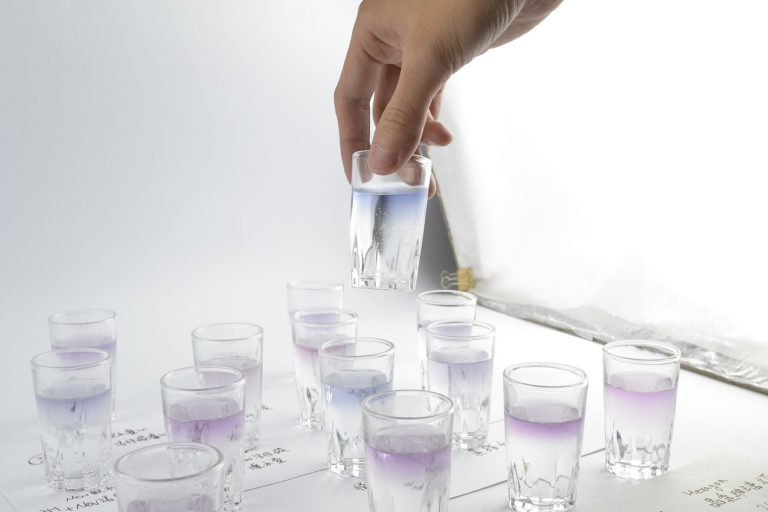
- pH Level: Use a pH testing kit to determine acidity or alkalinity.
- Contaminant Levels: Follow instructions on your testing kit to assess levels of specific contaminants.
Record these initial measurements in your notebook.
Step 3: Filter the Water
- Run Your DIY Filter: Pour the unfiltered water through your DIY filter system carefully.
- Collect Filtered Water: Ensure you collect enough filtered water for testing.
Step 4: Measure Filtered Water Parameters
After filtering:
- Check Turbidity Again: Compare the clarity of filtered versus unfiltered water visually or with a turbidity meter.
- Test pH Level Again: Measure the pH of the filtered water using your kit.
- Assess Contaminant Levels Again: Use your testing kit to measure levels of specific contaminants in the filtered sample.
Step 5: Compare Results
Now it’s time to analyze your findings:
- Turbidity Comparison: Note any significant changes in clarity between unfiltered and filtered samples.
- pH Level Changes: Determine if there was any alteration in pH levels after filtration; significant changes may indicate chemical reactions within your filter materials.
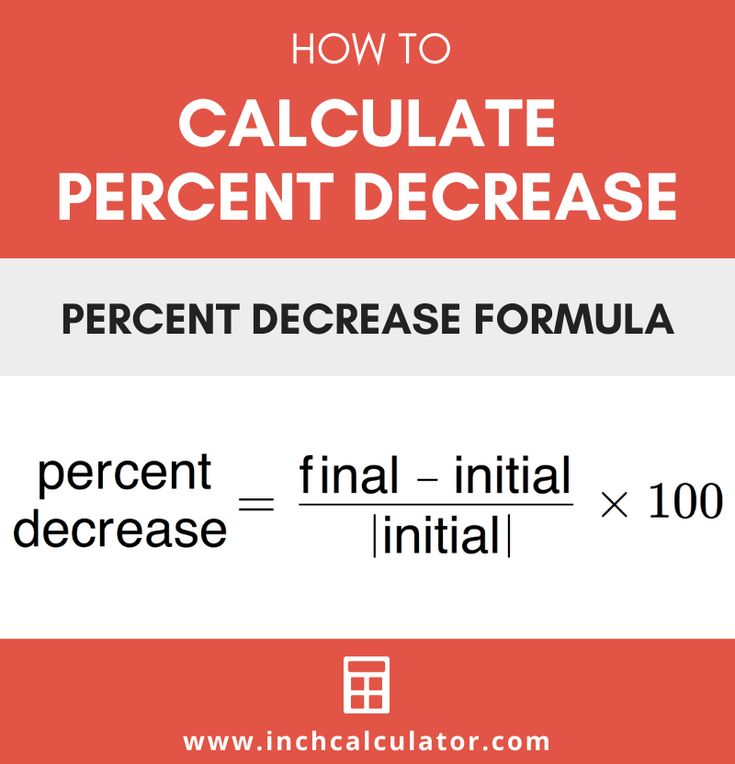
- Contaminant Reduction Rates: Calculate reduction percentages for each contaminant tested by using the formula below.
- This will give you a clearer picture of how effective your filter is at removing specific pollutants.
Step 6: Assess Microbial Safety
Testing for microorganisms can be more complex but is crucial for ensuring safety:
- If possible, use a microbiological testing kit designed for home use that can detect bacteria like E.coli or coliforms in both unfiltered and filtered samples.
- Follow instructions carefully to ensure accurate results.
Step 7: Document Your Findings
Compile all data into a comprehensive report:
- Include initial measurements alongside post-filtration results.
- Highlight any significant improvements or areas where the filter may not have performed as expected.
Conclusion
Testing the effectiveness of your DIY water filter is an essential step in ensuring that it provides safe drinking water free from harmful contaminants. By following these steps—preparing samples, measuring parameters before and after filtration, comparing results, and documenting findings—you can gain valuable insights into how well your filter works.
Remember that while DIY filters can be effective for certain types of contaminants, they may not eliminate all harmful substances present in contaminated water sources. Always consider additional purification methods if necessary and consult local guidelines regarding safe drinking water standards.
By taking these precautions and conducting thorough tests on your DIY filter system, you can enjoy peace of mind knowing that you’re providing yourself—and potentially others—with clean drinking water through sustainable practices!