Installing a Reverse Osmosis Water Filter in an Apartment
Do you ever wonder if you can install a reverse osmosis water filter in an apartment? It’s not uncommon for people living in apartments to consider improving their water quality, possibly thinking about restrictions due to space or rental agreements. Installing a reverse osmosis (RO) system might seem daunting, but it can be more manageable than you think. Let’s walk through the process together so you can feel confident about bringing cleaner, healthier water into your home.

Understanding Reverse Osmosis: The Basics
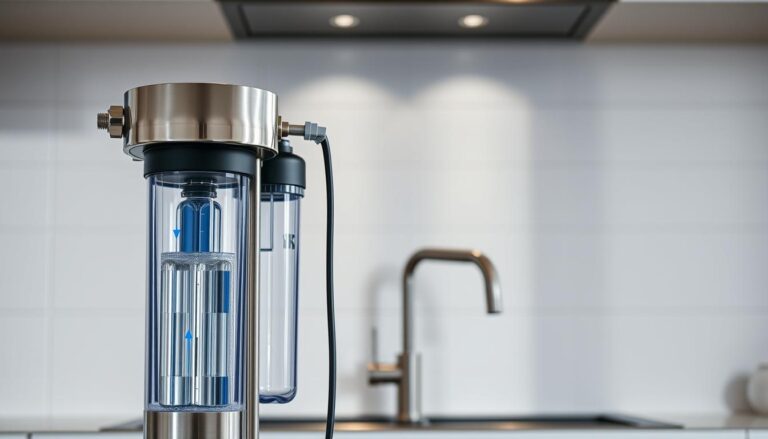
Reverse osmosis is a water purification process that uses a partially permeable membrane to remove ions, molecules, and larger particles from drinking water. This system is particularly effective at removing impurities, providing water that is not only safe but also tastes fresh and clean.
Benefits of Reverse Osmosis
Reverse osmosis water filters are renowned for their ability to remove a wide range of contaminants. They can effectively reduce:
- Dissolved Solids: Including salts and other minerals.
- Chemicals: Such as chlorine, fluoride, and arsenic.
- Biological Contaminants: Including bacteria and viruses.
- Metals and Minerals: Like lead and calcium.
The result is water that is free from most impurities, giving you safer water for drinking and cooking.
Is Reverse Osmosis Right for You?
Before making any decisions, consider whether reverse osmosis is the best option for your needs. If your primary concern is with contaminants that are effectively filtered by RO systems, then it’s a solid choice. However, if space is a major constraint, or if you’re not overly concerned about water’s taste or minor impurities, you might consider other filtration options.
Preparing for Installation
Before you get into the nitty-gritty of installation, there are a few steps to consider that will make the process smoother and more manageable.
Assessing Space and Compatibility
Start by measuring the space under your sink where you plan to install the RO system. Most apartment kitchens have limited space, so it’s important to ensure that your chosen system will fit comfortably. Take note of your plumbing connections as well; you’ll need to determine whether they are compatible with standard RO systems or if additional fittings are required.
Understanding Apartment Regulations
Living in an apartment means that you are often subject to specific rules and regulations outlined by your building management or landlord. It is crucial to check your lease agreement and speak with your landlord or property manager to see if installing an RO system is permissible. This conversation can prevent future disputes and ensure you have all the necessary approvals.
Gathering Necessary Tools and Equipment
Having the right tools on hand simplifies the installation process. Typical tools and items you’ll need include:
- Adjustable wrench
- Phillips and flathead screwdrivers
- Tubing cutter
- Drill (if required for mounting the faucet)
- Teflon tape
- Bucket or container (for catching water during installation)
You might also consider a drop cloth or towel to manage any accidental spills during the installation.
Choosing the Right Reverse Osmosis System
Selecting the right RO system can feel overwhelming given the many options available. However, certain considerations can help guide your choice to a system that meets your specific needs.
Types of Reverse Osmosis Systems
There are several types of RO systems, with the under-sink and countertop models being most suitable for apartments.
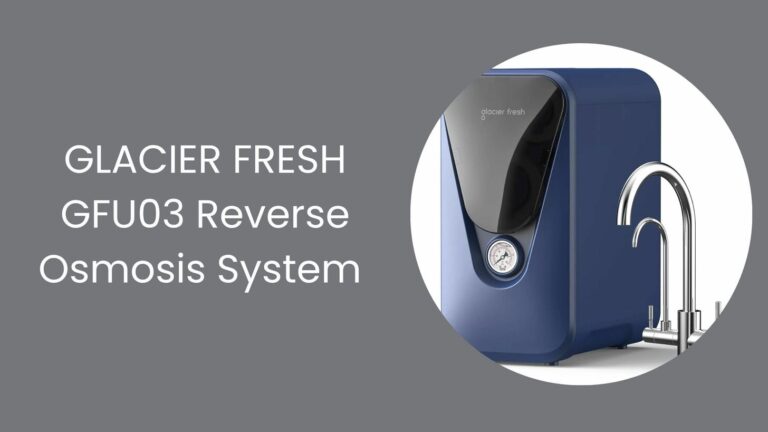
- Under-Sink RO Systems: These are installed beneath your kitchen sink and connect directly to your water supply. They are discreet, providing extensive filtration without occupying counter space.
- Countertop RO Systems: Ideal for apartments where under-sink installation is not feasible, these systems connect to your faucet and can be stored when not in use.
Shop for Reverese Osmosis Systems
Key Features to Consider
When choosing an RO system, consider:
- Flow Rate: This determines how quickly water is processed. A higher flow rate means faster access to clean water.
- Number of Stages: More stages typically mean more thorough filtration but ensure the system you choose fits your space and budget.
- Storage Tank: Consider the tank’s size to ensure it accommodates your household’s water consumption needs.
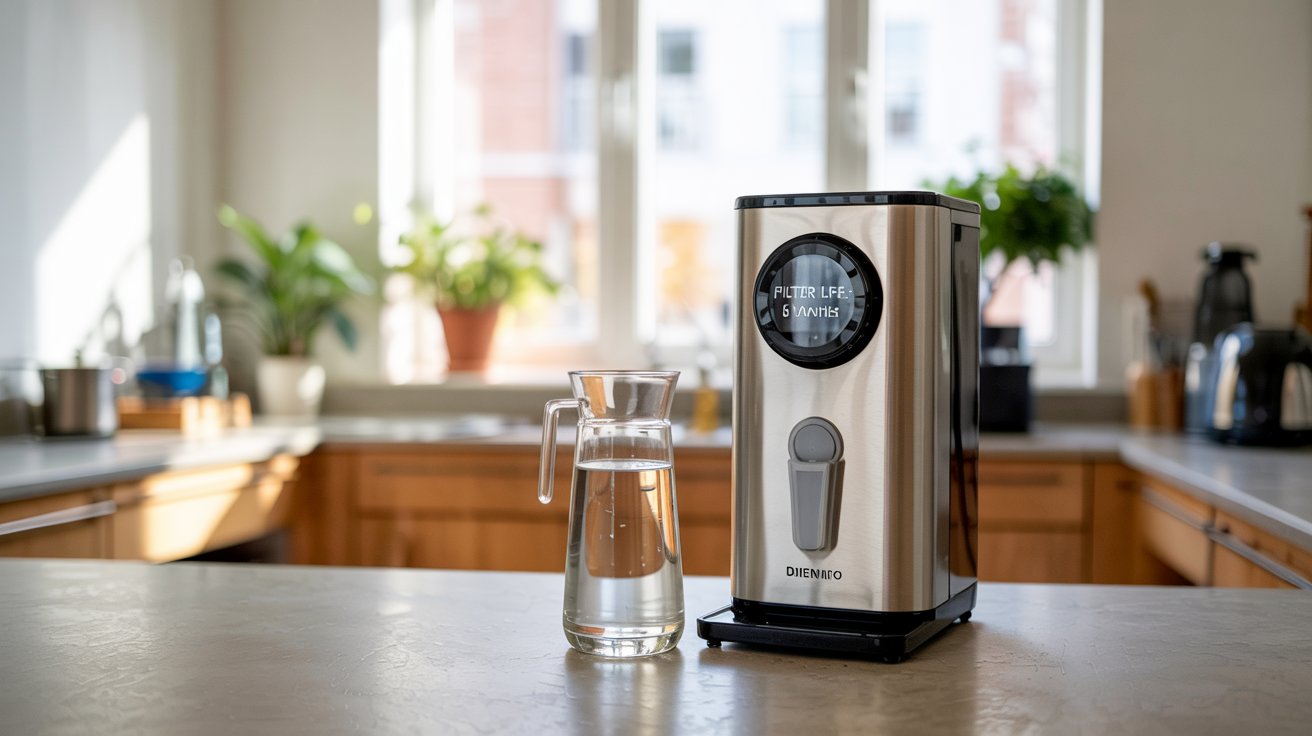
- Filter Replacement: Look at how often filters need to be changed and factor in the cost when comparing systems.
Comparing Popular Brands
To help simplify your decision, here’s a table comparing some popular reverse osmosis systems:
| APEC | 5 | 4 gallons | 75 GPD | Every 6-12 months | $200-$300 |
| iSpring | 6 | 3.2 gallons | 75 GPD | Every 6-12 months | $150-$300 |
| Express Water | 5 | 4 gallons | 50 GPD | Every 6 months | $150-$250 |
Step-by-Step Installation Guide
Installing an RO system is a multi-step process that involves precision and care. It’s not as daunting as it may seem, so let’s break it down.
Step 1: Install the Faucet
Start by drilling a hole in your countertop or sink for the RO faucet, if there isn’t one already available. Ensure that the faucet is installed in a convenient and accessible location.
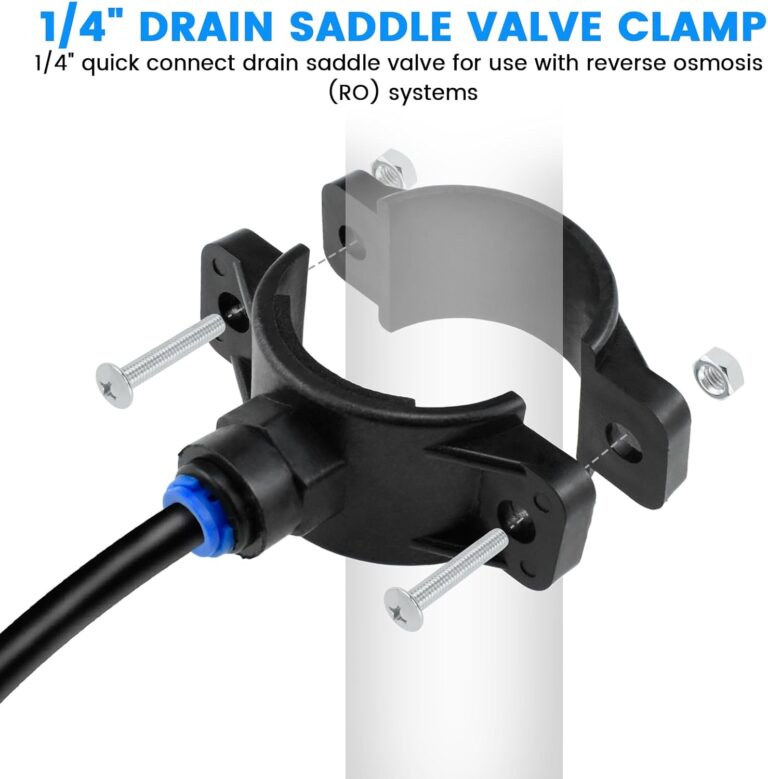
Step 2: Attach the Water Supply Valve
Locate the cold water line under your sink. Turn off the water supply and release any pressure by turning on adjacent faucets. Install the RO system’s feed water valve by disconnecting the cold water line and attaching the valve in between.
Step 3: Set Up the Storage Tank
Position the storage tank in your desired location, usually under the sink, and connect it to the RO system using the supplied tubing. Ensure the valve on the tank is turned off during this stage.
Step 4: Connect the RO System
Connect the various colored tubes from the RO system to their respective connections—these could include the water feed line, storage tank, drain line, and faucet. The instructions provided with your system will guide you in managing these connections safely and effectively.
Step 5: Mount the System
If your RO system includes a mounting bracket, attach it to the wall of the cabinet under your sink. This ensures the system is secure and tidy.
Step 6: Check for Leaks and Test the System
Once everything is connected and secure, turn on the water supply and the storage tank valve. Check all connections for leaks. Allow the system to fill and flush it as directed in the manufacturer’s instructions to remove any initial impurities from new filters.

Post-Installation Considerations
Once your RO system is fully operational, there are a few more things to keep in mind to ensure its optimal performance.
Regular Maintenance and Filter Replacement
Routine maintenance is key to the system’s long-term performance. You should replace the filters as recommended by the manufacturer to maintain water quality and system efficiency.
Troubleshooting Common Issues
Should you encounter issues such as slow water flow or changes in water taste, consult the troubleshooting section of your user manual. Common solutions might include checking for clogs in filters or ensuring the system is correctly pressurized.
Maintaining Good Relations with Apartment Management
Continually maintain open communication with your landlord or building management regarding any permanent changes made to your unit. This could be beneficial if you plan to remove or re-adjust the system in the future.
Advantages of Apartment Reverse Osmosis Installation
The benefits of installing an RO system in your apartment extend beyond improved water quality.
Environmental Benefits
By using an RO system, you significantly reduce your reliance on bottled water, thereby decreasing plastic waste. This is a big win for environmentally conscious individuals aiming to reduce their carbon footprint.
Health Benefits
Clean, filtered water is free from many of the impurities or chemicals present in tap water, fostering better health and wellness. Whether it’s removing lead or reducing unnecessary chemical intake, the health advantages are considerable.
Financial Benefits
Though there is an upfront cost in purchasing and installing an RO system, over time, you save money by not having to purchase bottled water. The system also adds value to your living experience by providing readily accessible clean water.
Conclusion
Installing a reverse osmosis water filter in an apartment is not only feasible but also highly beneficial, offering both short and long-term advantages. By addressing key considerations like space, compliance with apartment regulations, and system selection, you can confidently install and maintain an RO system in your home. Cleaner, healthier water is within your reach, turning a challenging question into a rewarding home improvement project.