RV Black Tank Emptying Frequency: The Complete Guide for Beginners
Understanding the proper RV black tank emptying frequency is essential for every RV owner. Whether you’re a weekend warrior or full-time RVer, knowing when and how to empty your black tank prevents unpleasant odors, potential damage, and those dreaded “full tank” moments at inconvenient times. This guide covers everything you need to know about managing your RV’s waste system effectively, from emptying schedules to maintenance tips that keep your adventures odor-free.
Understanding Your RV’s Waste System
Before diving into emptying frequency, it’s important to understand the components of your RV’s waste management system. Most recreational vehicles have three main tanks:
Black Water Tank
Collects waste from your RV toilet, including human waste, toilet paper, and flush water. This tank requires the most attention and careful maintenance.
Gray Water Tank
Stores used water from your sinks and shower. This water contains soap residue and small food particles but isn’t considered sewage.
Fresh Water Tank
Holds clean, potable water for drinking, cooking, and bathing. This tank is completely separate from the waste system.
The black tank is typically located directly beneath your RV toilet and connects to a valve on the exterior of your RV. This valve leads to a sewer hose connection point, allowing you to empty the contents at designated dump stations.
5 Key Factors Affecting RV Black Tank Emptying Frequency
There’s no one-size-fits-all answer to how often you should empty your black tank. Instead, several factors influence the optimal emptying schedule:
1. Tank Capacity
Black tanks typically range from 15 to 50 gallons. Smaller tanks in compact RVs may need emptying every 2-3 days, while larger motorhomes with 40+ gallon tanks might go 5-7 days between dumps. Check your RV’s manual to confirm your specific tank capacity.
2. Number of Users
More people means more waste. A couple might empty their tank once a week, while a family of four might need to empty every 3-4 days. Solo travelers can often go longer between dumps than those traveling with groups.
3. Usage Patterns
Full-time RVers who use their onboard toilet exclusively will need more frequent emptying than weekend campers or those who often use campground facilities. If you spend significant time at locations with restrooms, your tank will fill more slowly.
4. Toilet Paper Type and Amount
Regular household toilet paper breaks down slowly and can cause clogs. RV-specific toilet paper dissolves quickly, reducing buildup and allowing more efficient use of tank space. The amount used also matters—excessive toilet paper fills tanks faster.
Recommended: RV-Friendly Toilet Paper
Using the right toilet paper prevents clogs and sensor issues. Look for quick-dissolving, RV-specific toilet paper that breaks down easily in your tank.
5. Water Conservation Habits
How you flush matters. Using minimal water conserves tank space but can lead to solid waste buildup. A good balance is needed—enough water to prevent solids from sticking but not so much that you quickly fill the tank.

Warning Signs Your Black Tank Needs Emptying
Don’t wait until it’s too late. Watch for these indicators that your black tank requires immediate attention:
- Tank level indicators show 2/3 or more full – Most experts recommend emptying at this point rather than waiting for a completely full tank
- Slow toilet drainage – When flushing becomes sluggish, your tank is likely approaching capacity
- Unusual odors – Strong smells in your bathroom area often indicate it’s time to empty
- Gurgling sounds – Unusual noises from your plumbing can signal a nearly full tank
- It’s been 3-5 days with regular use – Even without other signs, this is a good general guideline
Important: Never let your black tank get completely full. This can cause backups into your RV, damage to valves, and much more difficult emptying. The ideal emptying point is when your tank is about 2/3 full.
Step-by-Step RV Black Tank Emptying Process
Emptying your black tank doesn’t have to be intimidating. Follow these steps for a clean, hassle-free experience:
- Gather your supplies – Disposable gloves, sewer hose, clear elbow connector (optional), tank treatment, and water hose designated for rinsing the sewer hose
- Connect your sewer hose – Attach one end to your RV’s sewer outlet and the other to the dump station inlet
- Empty the black tank first – Pull the black tank valve handle to release contents and let it drain completely
- Close the black tank valve – Ensure it’s fully closed before proceeding
- Empty the gray tank – Open the gray tank valve to help flush the sewer hose with soapy water
- Close the gray tank valve – Make sure it’s completely closed
- Rinse the sewer hose – Use the designated water hose to flush any remaining residue
- Disconnect and store equipment – Remove the hose from both connections, rinse if needed, and store properly
- Add tank treatment and water – Add fresh water (about 5 gallons) and tank treatment to prepare for next use
Essential: Quality Sewer Hose Kit
A durable, leak-proof sewer hose makes emptying your black tank much more pleasant. Look for heavy-duty materials and secure fittings.
Maintenance Tips to Reduce Odors and Prevent Clogs
Proper RV black tank emptying frequency is just one part of effective waste system management. These maintenance practices will help keep your system running smoothly:

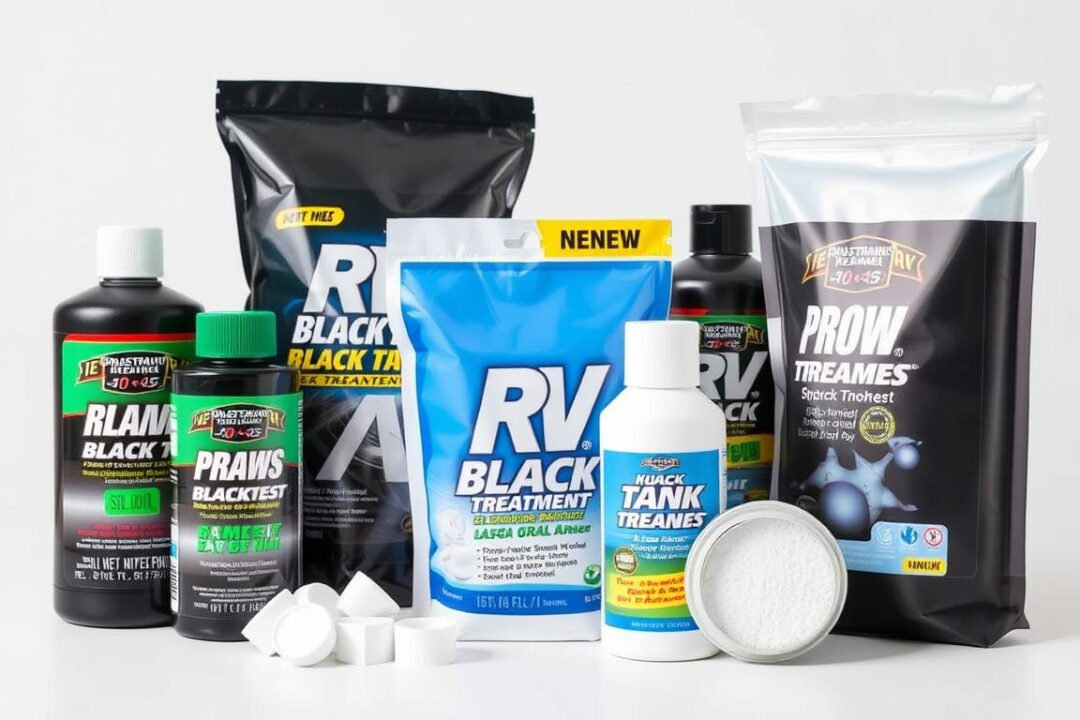
Use the Right Tank Treatments
Enzyme-based and bacteria treatments break down waste and toilet paper while controlling odors. Add treatment after each emptying for best results. Avoid harsh chemicals like formaldehyde, which can damage your tank and are prohibited at many dump stations.
Maintain Adequate Water Levels
Always keep some water in your black tank—about 5 gallons after emptying. This prevents solid waste from sticking to the bottom and sides. When flushing solids, use enough water to ensure they move easily into the tank.
Regular Deep Cleaning
Every 3-4 months, perform a deep clean by filling your tank about 3/4 full with water, adding tank cleaner, driving around to agitate the solution, then emptying. This helps remove buildup on tank walls and sensors.
Sensor Maintenance
Tank level sensors often become inaccurate due to debris buildup. Special sensor cleaners can help restore function, or you can try the “ice cube method”—adding ice cubes before driving to scrub sensor surfaces.
Recommended: Tank Treatment Solutions
Regular use of quality tank treatments prevents odors and breaks down waste effectively. Choose enzyme-based formulas for best results.
Keep Valves Closed When Not Dumping
Always keep your black tank valve closed unless actively emptying. Leaving it open allows liquids to drain while solids remain, creating the dreaded “pyramid of poop” that’s difficult to remove.
Common Mistakes to Avoid with RV Black Tank Emptying Frequency
Even experienced RVers sometimes make these errors. Avoid these common pitfalls for better black tank management:
Mistakes to Avoid
- Waiting until completely full – Creates pressure and potential backups
- Leaving black tank valve open – Causes “pyramid” buildup of solids
- Using household toilet paper – Leads to clogs and sensor problems
- Not using enough water – Results in solid waste sticking to tank
- Using harsh chemicals – Damages seals and tank materials
- Forgetting to close valves – Allows sewer gases to enter your RV
- Rushing the emptying process – Increases risk of spills and incomplete emptying
Frequently Asked Questions About RV Black Tank Emptying Frequency
What is the maximum safe capacity for my RV black tank?
While tanks are designed to hold their full rated capacity, it’s best practice to empty your black tank when it reaches about 2/3 full (around 66-75% capacity). This provides a safety margin to prevent backups and allows enough water volume to create a good flushing action when emptying. Never let your tank exceed 90% capacity, as pressure can build and cause leaks or damage to seals.
How do I prepare my RV black tank for winter storage?
Proper winterization of your black tank is crucial to prevent freeze damage. First, completely empty both black and gray tanks at a dump station. Then, flush the black tank thoroughly using a tank rinse system or wand. Add RV antifreeze specifically designed for plumbing systems (never automotive antifreeze) according to your RV manufacturer’s recommendations—typically 2-3 gallons for the black tank. This protects valves and seals during freezing temperatures. Some RVers also add a cup of mineral oil to prevent seals from drying out during storage.
Can I empty my RV black tank at home?
It depends on local regulations and your home’s sewage setup. If you have a septic system or sewer connection, you may be able to empty your black tank at home using a cleanout access point. However, many municipalities prohibit this practice due to environmental and health concerns. If allowed, you’ll need a proper sewer connection adapter and should never empty into storm drains or onto the ground. For most RVers, using designated dump stations at campgrounds or service areas remains the safest, most legal option.
Conclusion: Maintaining the Right RV Black Tank Emptying Frequency
Establishing the proper RV black tank emptying frequency is essential for trouble-free RVing. While the general guideline is to empty when your tank is about 2/3 full (typically every 3-5 days for average use), your specific schedule will depend on your tank size, number of users, and usage patterns. Regular maintenance, proper treatments, and good habits will keep your system functioning smoothly and odor-free.
Remember that proper black tank management is part of responsible RVing. By following the guidelines in this article, you’ll avoid unpleasant surprises, protect your RV’s systems, and enjoy more worry-free adventures on the road. Happy camping!
Essential RV Black Tank Maintenance Kit
Get everything you need for proper black tank maintenance: quality sewer hose, tank treatments, RV toilet paper, and gloves.
As an Amazon Associate, I earn from qualifying purchases.


