How to Find & Fix an RV Holding Tank Leak
Discovering an RV holding tank leak can quickly turn your peaceful camping trip into a stressful situation. Whether it’s your black tank, grey tank, or freshwater system, leaking tanks demand immediate attention to prevent health hazards, water damage, and unpleasant odors. This comprehensive guide will walk you through identifying the source of your leak and implementing both temporary and permanent solutions.
Why Fixing RV Holding Tank Leaks Is Critical
A leaking holding tank isn’t just inconvenient—it can create serious problems if left unaddressed:
- Health hazards from waste exposure (especially black tank leaks)
- Water damage to your RV’s floor, framework, and insulation
- Unpleasant odors that can make your RV uninhabitable
- Potential environmental contamination
- Expensive structural repairs if leaks persist
- Violation of campground regulations
- Reduced RV resale value
- Disrupted travel plans
Important Safety Note: Black water tank leaks contain harmful bacteria and require immediate attention. Always wear proper protective equipment when dealing with waste tank issues.
How to Identify an RV Holding Tank Leak

Essential Tools for Leak Detection
Before you begin your inspection, gather these essential tools:
- Flashlight – Preferably a bright LED headlamp to keep hands free
- Protective gloves – Heavy-duty rubber or nitrile gloves
- Safety glasses – To protect eyes from drips or splashes
- Mirror on extendable handle – For viewing hard-to-reach areas
- Soapy water in spray bottle – For testing connections
- Paper towels or clean rags – For wiping surfaces to check for moisture
- UV dye and blacklight (optional) – For difficult-to-find leaks
Step-by-Step Leak Detection Methods
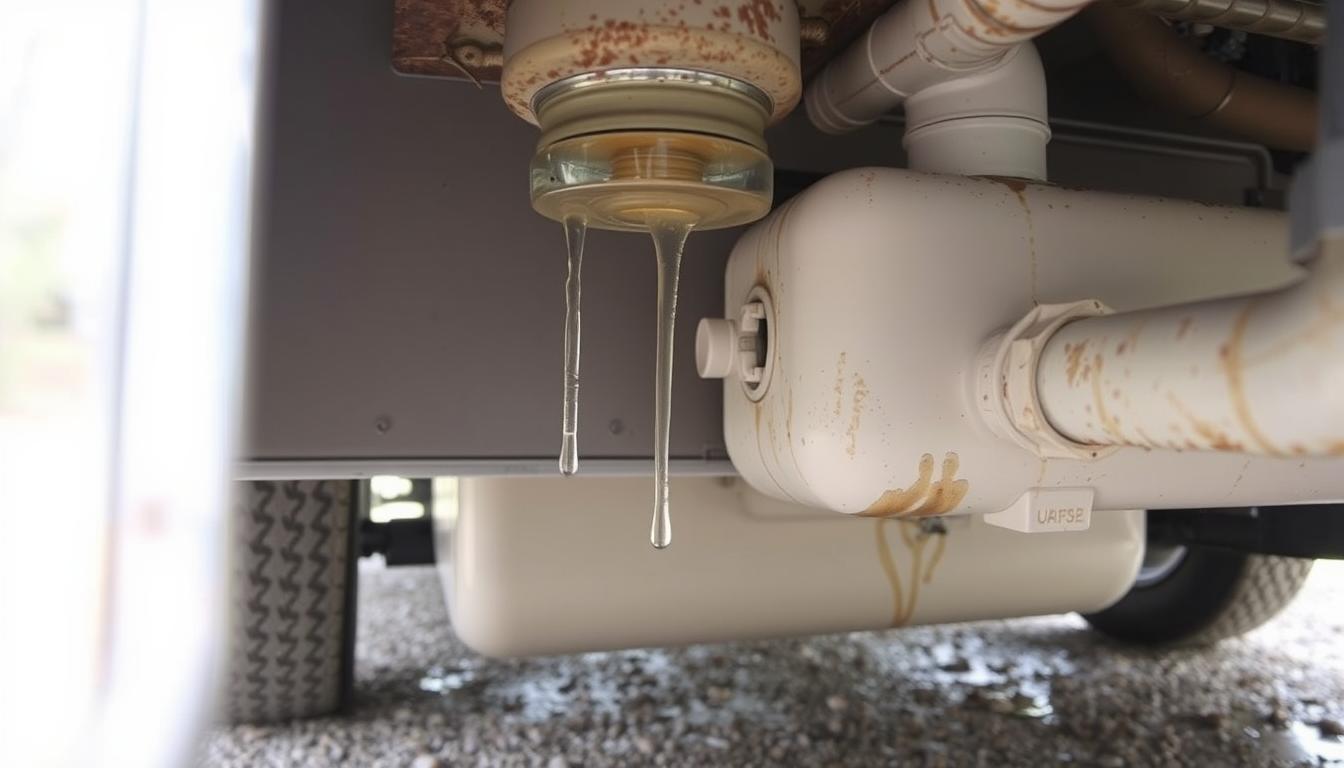
- Visual Inspection: Park your RV on a concrete pad or driveway where leaks will be more visible. Look for wet spots, stains, or dripping underneath your RV, particularly around tank areas.
- Empty and Clean Tanks: For a thorough inspection, empty and flush your tanks completely. This makes it easier to identify the source of leaks.
- Refill with Clean Water: Even for black tanks, refill with clean water for testing purposes. This makes leak identification cleaner and safer.
- Crawl Under and Inspect: Using your flashlight and mirror, carefully examine the entire tank surface, paying special attention to:
- Seams and corners of the tank
- Connection points where pipes enter/exit
- Valve assemblies and flanges
- Mounting brackets where stress might cause cracks
- Pressure Test: Fill the tank about halfway, then add slight pressure by running water with the drain valve closed. Watch for new drips or moisture.
- Soap Bubble Test: Apply soapy water to suspected leak areas and watch for bubbles forming, which indicate escaping air/water.

Common Leak Locations
RV holding tank leaks typically occur in predictable locations:
Tank Body Issues
- Stress cracks along sides
- Impact damage from road debris
- Freeze damage (common in winter)
- UV deterioration on exposed tanks
Connection Points
- Toilet flange to black tank
- Drain valve connections
- Vent pipe fittings
- Sensor probe fittings
Valve Problems
- Damaged dump valve seals
- Cracked valve housing
- Loose valve mounting bolts
- Deteriorated gaskets
Temporary Repair Solutions

When you’re on the road and discover a leak, you may need a temporary fix to get you through until a permanent repair can be made. Here are effective short-term solutions:
Quick Fixes for Emergency Situations
Epoxy Putty Repairs
Epoxy putty is one of the most effective temporary fixes for tank cracks:
- Empty and thoroughly dry the tank
- Clean the leak area with alcohol or acetone
- Roughen the surface with sandpaper
- Mix two-part epoxy putty according to instructions
- Apply generously over the crack, extending 1″ beyond in all directions
- Allow to cure completely (usually 24 hours) before refilling
Recommended: JB Weld WaterWeld
This specially formulated epoxy putty works even on damp surfaces and cures underwater, making it ideal for emergency RV tank repairs.
Sealant Tape Solutions
For certain types of leaks, specialized repair tapes can provide an effective temporary seal:
- Clean and dry the surface completely
- Roughen the area with sandpaper
- Apply the tape with at least 2″ overlap beyond the damaged area
- Press firmly to remove air bubbles
- Apply additional layers for reinforcement
Recommended: EternaBond RoofSeal Tape
While designed for roofs, this tape creates a watertight seal on many surfaces and has proven effective for temporary tank repairs.
Important: Temporary fixes should only be used to get you to a service center or home. They are not permanent solutions, especially for black water tanks where health hazards exist.
Permanent Repair Solutions

DIY Permanent Repair Options
For those comfortable with more advanced repairs, these methods can provide lasting solutions:
Plastic Welding
Many RV holding tanks are made of ABS or polyethylene plastic that can be welded with the right equipment:
- Requires a plastic welding kit with appropriate rod material
- Works by melting similar plastic material into the crack
- Creates a permanent bond that becomes part of the tank
- Most effective when performed on both inside and outside of tank
This method is most effective when you know exactly what material your tank is made from. Common materials include ABS, HDPE (High-Density Polyethylene), and polypropylene.
Fiberglass Repair Kits
For larger cracks or holes, a fiberglass repair approach can work well:
- Clean and roughen the surface thoroughly
- Cut fiberglass mesh to cover the damaged area plus 2″ overlap
- Mix and apply fiberglass resin according to kit instructions
- Layer the mesh into the wet resin
- Add additional resin over the mesh
- Allow to cure completely before testing

Professional Repair Options
Some situations require professional intervention for proper repair:
When to Seek Professional Help
- Tank is inaccessible without major disassembly
- Leak is at a critical connection point
- Multiple cracks or extensive damage exists
- Previous DIY repairs have failed
- You’re uncomfortable working with waste systems
- Tank damage appears to be from structural issues
In some cases, replacement is more practical than repair:
When to Replace Instead of Repair
- Tank has multiple failure points
- Tank material has degraded from age/UV exposure
- Cost of professional repair approaches replacement cost
- Tank design has inherent flaws causing repeated issues
- Opportunity to upgrade to larger capacity or better design
Replacement Considerations
- Exact OEM replacement vs. universal tank
- Material quality (premium tanks last longer)
- Compatibility with existing plumbing connections
- Installation complexity and required modifications
- Cost comparison between DIY and professional installation
Safety Precautions During Repair
Critical Safety Warning: Black water tanks contain harmful bacteria and waste. Always take proper precautions to protect yourself and the environment.
Essential Safety Measures
Personal Protection
- Always wear chemical-resistant gloves
- Use eye protection/face shield
- Wear protective clothing that can be sanitized or disposed of
- Consider respiratory protection, especially when working with chemicals
- Have immediate access to clean water for washing
Environmental Protection
- Work in a contained area to prevent contamination
- Have absorbent materials ready for spills
- Dispose of waste water properly at dump stations
- Follow local regulations for handling waste
- Never dump tank contents on the ground
Chemical Safety
Many repair products contain strong chemicals that require careful handling:
- Work in well-ventilated areas to avoid inhaling fumes
- Keep repair materials away from heat sources or open flames
- Store chemicals according to manufacturer instructions
- Never mix different repair products unless specifically instructed
- Have a first aid kit readily available
Preventing Future RV Holding Tank Leaks

The best way to deal with holding tank leaks is to prevent them from happening in the first place. Follow these maintenance practices to extend the life of your tanks:
Regular Maintenance Routines
Weekly Checks
- Visual inspection for moisture or drips
- Check valve seals for proper operation
- Ensure proper tank ventilation
- Monitor tank levels to prevent overfilling
Monthly Maintenance
- Deep clean tanks with appropriate cleaners
- Inspect mounting brackets and straps
- Check all connection points for tightness
- Lubricate valve mechanisms
Seasonal Care
- Thorough tank flushing before storage
- Proper winterization to prevent freeze damage
- Inspection of tank underside for damage
- Treatment with tank conditioners

Recommended Tank Care Products
Tank Cleaners
Regular cleaning prevents buildup that can lead to sensor malfunctions and contribute to tank deterioration.
- Enzyme-based cleaners for regular maintenance
- Deep-cleaning solutions for periodic use
- Sensor cleaning products to maintain accurate readings
Tank Conditioners
These products help maintain the internal surfaces of your tanks and protect against deterioration.
- Lubricates valve seals to prevent leaks
- Conditions tank walls to resist cracking
- Reduces odors and promotes proper breakdown
Protective Treatments
External treatments can help protect exposed tank surfaces from environmental damage.
- UV protectants for exposed tanks
- Underbody sealants to shield from road debris
- Insulation wraps for freeze protection
Cold Weather Precautions
Freeze damage is one of the most common causes of RV holding tank leaks. Take these precautions in cold weather:
Winterization Steps
- Completely empty all tanks before freezing temperatures
- Add appropriate amount of RV antifreeze to tanks
- Insulate exposed tanks and plumbing
- Keep interior minimally heated if possible
- Consider tank heating pads for extreme conditions
During Cold Weather Use
- Keep tanks partially filled to reduce freezing risk
- Use tank heaters when temperatures drop below freezing
- Add winter-specific tank treatments
- Empty tanks more frequently than in warm weather
- Keep dump valves closed until ready to empty
Conclusion: Maintaining Leak-Free RV Holding Tanks

Dealing with an RV holding tank leak can be challenging, but with the right approach, you can identify and fix most issues. Remember these key points:
- Address leaks immediately to prevent health hazards and costly damage
- Use appropriate safety equipment when working with holding tanks
- Temporary fixes should only be used until proper repairs can be made
- Consider professional help for complex repairs or tank replacements
- Implement regular maintenance to prevent future leaks
By following the steps outlined in this guide, you’ll be able to maintain your RV’s holding tank system properly and enjoy worry-free travels. Regular inspection and preventative maintenance are your best defenses against unexpected leaks.
As an Amazon Associate, I earn from qualifying purchases.