When and How to Change Water Softener Resin
Have you ever noticed a change in the quality of your water, like it’s not as soft as it used to be? If so, it might be time to change the resin in your water softener. Water softeners are essential for many households as they help remove the minerals that make water hard. Over time, the resin in these systems can become less effective, impacting their efficiency.
Water softeners work by exchanging hard minerals, like calcium and magnesium, with sodium or potassium ions. The resin is at the heart of this exchange process, but it doesn’t last forever. To ensure your water softener is operating optimally, it’s crucial to understand how to change the resin when needed. In this guide, you’ll learn everything you need to know about this important task.
Understanding Resin and Its Role
Before you dive into the process of changing your water softener resin, it’s important to understand what the resin is and why it plays a crucial role in the water softening process.
What is Water Softener Resin?
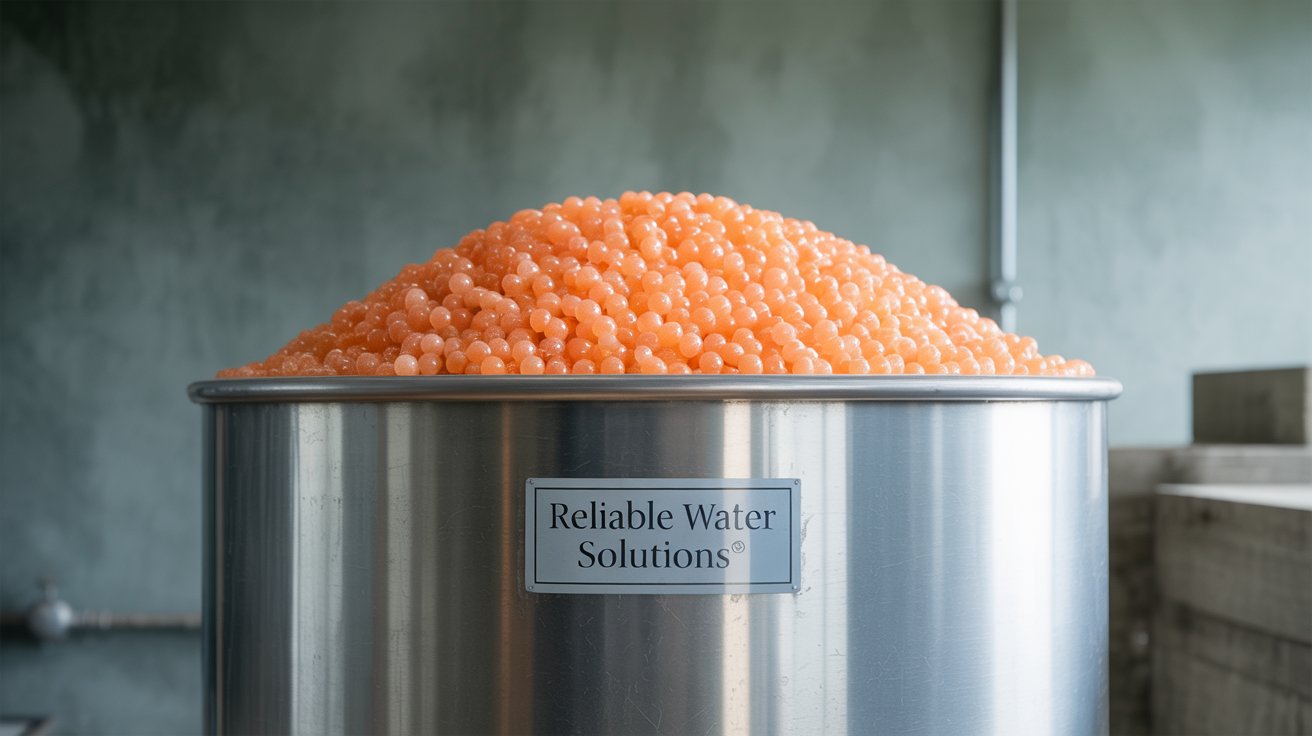
Water softener resin is a synthetic material, often a small bead-like substance that typically exchanges ions. The resin beads are charged with sodium ions and are covered with a positively charged surface that attracts the negative ions of the hard water minerals.
Why Does Resin Need to be Changed?
Over time, the resin beads become saturated with the hard minerals they have captured, and their efficiency decreases. Factors like the amount of water processed and the hardness of your water can influence how quickly your resin becomes exhausted. When the resin is no longer effective, you’ll notice a decline in water softness.
Signs Your Resin Needs Changing
Identifying when the resin needs replacing is crucial for maintaining your water softener’s performance. Keep an eye out for these signs that indicate it might be time for a change.
Hard Water Spots and Scale Build-Up
One of the most noticeable signs is the return of hard water spots and scaling on fixtures, dishes, and even in your plumbing. If you notice an increase in soap scum or a decrease in lather from soaps and shampoos, it might be time to inspect your resin.
Decreased Water Pressure
A reduction in water pressure can be a more subtle hint that your resin bed might be clogged. The build-up of minerals can restrict water flow and reduce the pressure throughout your home.
Inefficient Use of Regeneration Cycle
If your system appears to be running regeneration cycles more frequently than usual without an improvement in water quality, it could be a sign of resin depletion. Regeneration restores the resin’s ion exchange capacity, but when it becomes less effective, it’s usually time for a replacement.

Pre-Change Preparations
Preparing for resin replacement involves gathering the necessary materials and understanding the system layout. Here’s what you need to know.
Materials and Tools Required
Before you begin, ensure you have the following materials and tools ready:
| Material/Tool | Purpose |
|---|---|
| New Resin Beads | Replacement resin for the softener |
| Funnel | Helpful for adding resin to the tank |
| Screwdriver | Used to open and secure softener components |
| Bucket | For collecting water or resin beads |
| Hose or Tubing | To rinse out the tank and flush the system |
| Rubber Gloves | Protect your hands during the process |
Understand Your Water Softener Setup
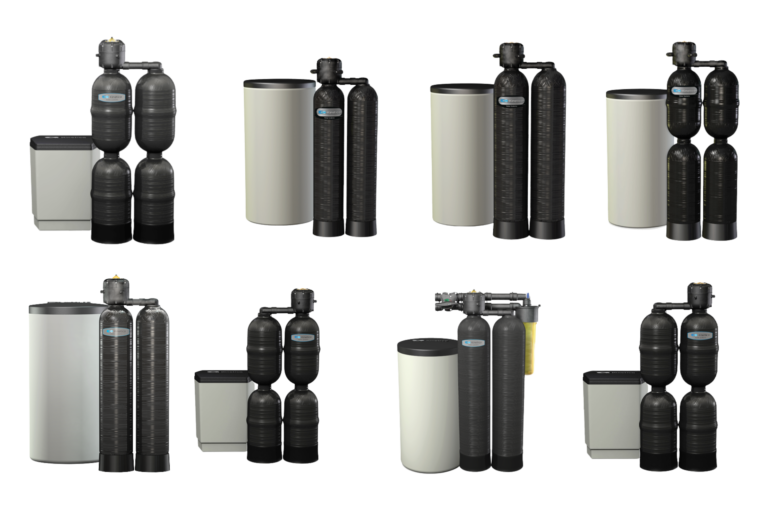
It’s important to be familiar with your specific water softener model since designs can vary. Review the user manual, if available, to understand the layout of your unit, especially the resin tank location and how to access it.
Step-by-Step Guide to Changing Resin
Now, let’s go through an in-depth, step-by-step guide to effectively changing the resin in your water softener. This task may sound daunting, but with the right preparation and steps, you’ll have your system running smoothly in no time.
Step 1: Turn Off Water Supply
The first and most crucial step is to turn off the water supply to your softener. This may involve turning off the main water supply to your home or using a bypass valve on your softener.
Step 2: Depressurize and Drain the System
After you have turned off the water, depressurize and drain the system. Open a faucet to release any built-up pressure and allow water to drain from your water softener.
Step 3: Open the Resin Tank
With the system depressurized, carefully remove the lid or cap from the resin tank. This is usually secured with screws that can be removed using the screwdriver.
Step 4: Remove the Old Resin
Using the bucket, carefully scoop out the old resin beads from the tank. If necessary, use a hose or tubing to flush out any remaining beads and debris. Be gentle to avoid damaging any internal components.
Step 5: Clean the Tank
Once the old resin is removed, it’s time to clean the tank. Rinse out any leftover beads and collect any debris. This ensures your new resin operates in a clean environment.
Step 6: Add New Resin
Using the funnel, slowly add the new resin beads into the tank. Fill it to the appropriate level, as specified in your water softener’s user manual. Be careful not to overfill which can cause operational issues.
Step 7: Reassemble the Softener
After adding the new resin, replace any filters or screens you removed and re-secure the lid or cap on the resin tank. Make sure everything is sealed tightly to prevent leaks.
Step 8: Turn On Water Supply and Test
Turn the water supply back on gradually to check for leaks. Once confirmed, run a regeneration cycle to help saturate the new resin with sodium and remove any air pockets in the system.

Post-Maintenance Considerations
Successfully changing the resin is a significant step in maintaining your water softener. Following this task, consider a few additional tips to ensure ongoing efficiency.
Regular Maintenance Schedule
Establishing a regular maintenance schedule can prevent future issues. Regular inspections, routine cleanings, and occasional professional checks can dramatically extend the lifespan of your water softener.
Monitoring Water Hardness
After replacing the resin, continue to monitor your water quality and hardness level. This will help you gauge when the resin may need to be changed again in the future. Test kits are available to help you easily measure water hardness.
Professional Advice
For those who are unsure about the process or if you encounter issues, seeking professional help is always a good choice. An experienced technician can provide insights and recommendations for your specific water softener model.
Changing the resin in your water softener may seem like a daunting task at first, but with the right approach and preparation, it’s quite manageable. Keeping your water softener in top condition ensures you continue enjoying the benefits of soft water throughout your home.