How to Install a Water Pressure Booster
In this informative article, “How to Install a Water Pressure Booster | This Old House,” you will learn step-by-step instructions on how to increase the water pressure in your home. This article, accompanied by a video from This Old House, features plumbing and heating expert Richard Trethewey as he assists homeowners with low water pressure issues.
Richard demonstrates the process of installing an electric water pressure booster, including shutting off the main valve, running new copper pipes, and connecting the booster to the main electrical panel. With easy-to-follow instructions and helpful tips, this article provides all the necessary information and tools needed to successfully install a water pressure booster in your own home.

Materials Needed
To install a water pressure booster system, you will need several materials. These include:
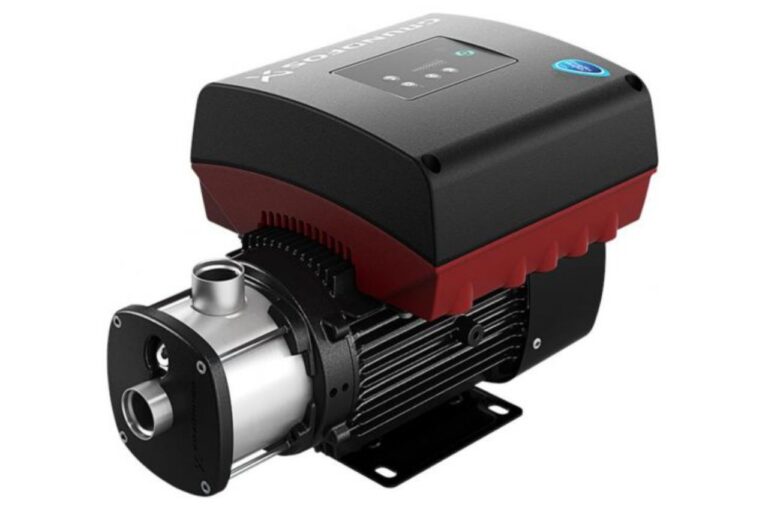
Pressure booster system
A pressure booster system is the main component of this installation. It consists of a pump and a storage tank that work together to increase water pressure in your home.
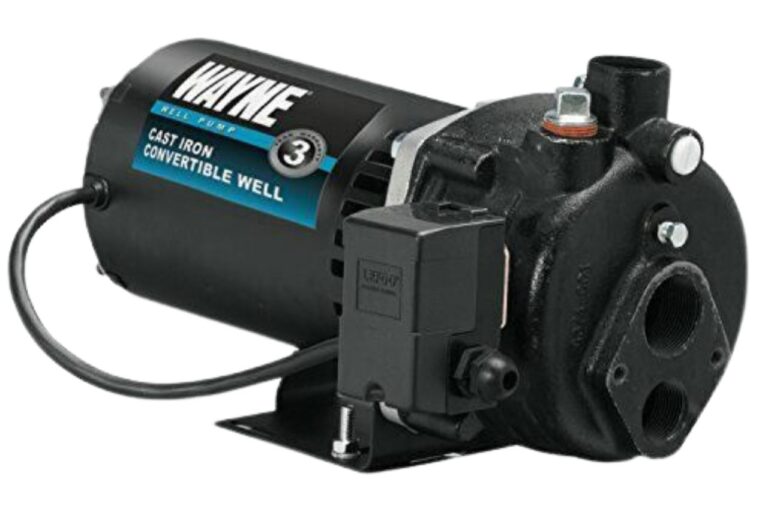
Pump
The pump is the heart of the pressure booster system. It is responsible for drawing water from the supply line and pushing it into the storage tank, creating the desired pressure.
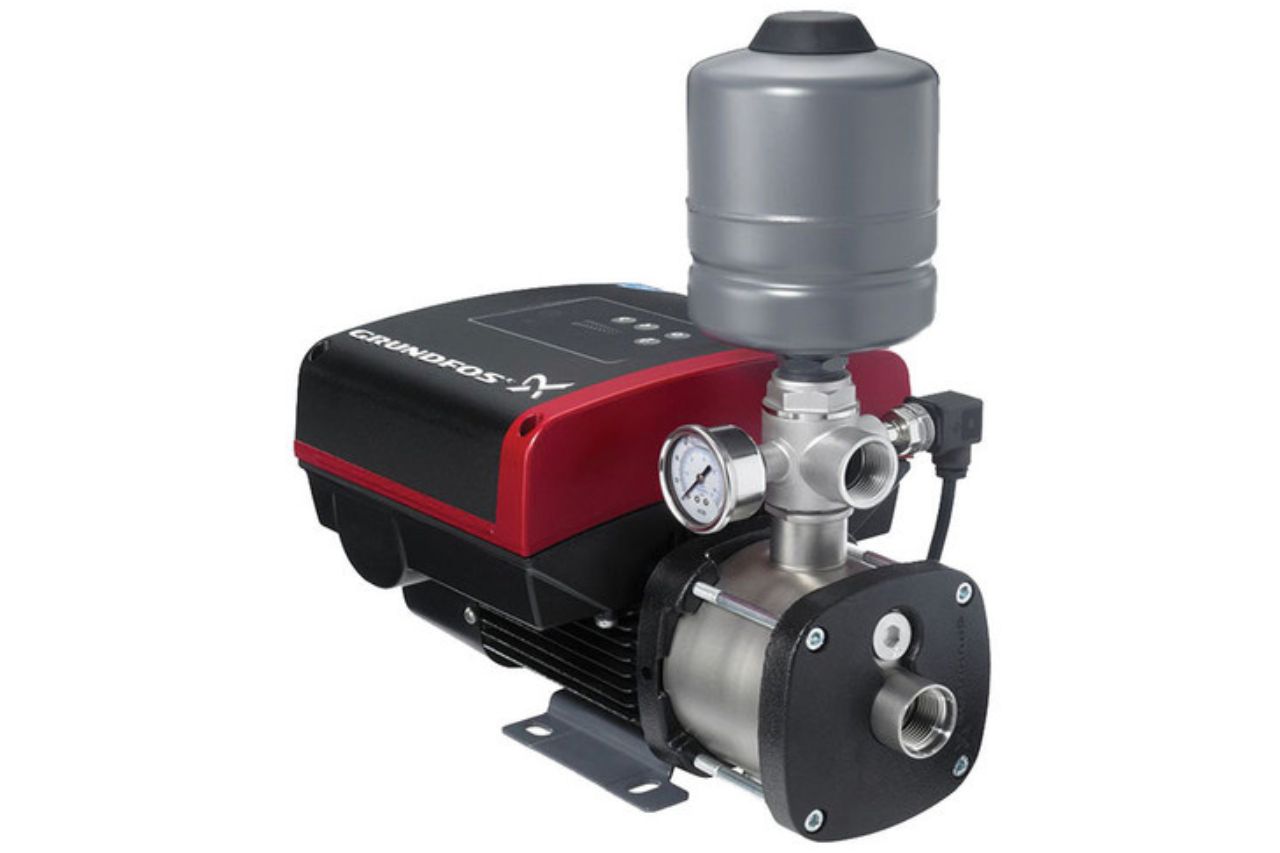
Storage tank
The storage tank stores water that is pumped by the booster system. It ensures a constant supply of water at the desired pressure, even during times of high demand.
Copper pipe
Copper pipe is used to connect the water main to the booster system. It is a durable and corrosion-resistant material that ensures efficient water flow.
Armored “metal clad” cable
An armored “metal clad” cable is required for the electrical connection of the pressure booster system. It provides protection and ensures safety while delivering electricity to the system.
New circuit breaker
A new circuit breaker is necessary to create a dedicated circuit for the pressure booster system. This ensures that the system receives a reliable and uninterrupted power supply.
Installing the Water Pressure Booster
Installing a water pressure booster system requires a series of steps. Following these steps will ensure a successful installation.
Shut off the main valve
Before starting the installation, it is crucial to shut off the main valve that supplies water to your home. This will prevent any water flow while you work on the system.
Drain the water supply pipes
Next, you need to drain the water supply pipes in your home. This can be done by opening all the faucets and letting the water flow until it stops completely. Draining the pipes will prevent any water from spilling during the installation process.
Run new copper pipe from water main to booster
Once the pipes are drained, it’s time to run a new copper pipe from the water main to the pressure booster system. This pipe will serve as the main supply line for the booster system.
Connect booster to main water line
After running the copper pipe, it’s time to connect the pressure booster system to the main water line. This is usually achieved by connecting the system’s inlet to the copper pipe using appropriate fittings.
Electrical Connection
The electrical connection is an essential part of installing a water pressure booster system. It ensures that the system receives the necessary power to function effectively.
Connect booster to main electrical panel
To connect the pressure booster system to the electrical supply, you need to locate the main electrical panel in your home. This is usually found in the basement or utility room.
Use armored “metal clad” cable
It is important to use armored “metal clad” cable for the electrical connection. This type of cable provides protection against physical damage and ensures the safety of the wiring.
Install new circuit breaker
To create a dedicated circuit for the pressure booster system, you will need to install a new circuit breaker in the main electrical panel. This breaker will control the power supply to the system.
Create dedicated circuit for booster
Once the new circuit breaker is installed, you can create a dedicated circuit for the pressure booster system. This will prevent other appliances or devices from sharing the same electrical circuit.
Cleaning and Assembling
Before completing the installation, it is important to clean and assemble the plumbing connections properly. This ensures that the water flows smoothly and efficiently through the system.
Take apart the plumbing connections
To clean and assemble the plumbing connections, you will need to take them apart. This allows you to inspect the components and remove any debris or sediment that may have accumulated.
Clean and flex the lines
Once the plumbing connections are taken apart, it’s time to clean them thoroughly. Use a brush or cloth to remove any dirt or buildup. Additionally, flexing the lines helps to ensure they are free of obstructions.
Reassemble the connections
After cleaning and flexing the lines, reassemble the plumbing connections. Make sure to tighten all the fittings properly to prevent any leaks during operation.

Electrical Wiring
Proper electrical wiring is crucial for the safe and efficient operation of a water pressure booster system. It is recommended to seek the assistance of a qualified electrician for this task.
Call a local electrician
To ensure that the electrical wiring is done correctly, it is highly recommended to call a local electrician. They have the expertise and knowledge to complete the wiring in compliance with the local electrical codes.
Connect wires to motor
When connecting the wires to the motor of the pressure booster system, it’s important to follow the manufacturer’s instructions. This ensures that the wiring is done correctly and safely.
Shorten and strip wires
Before connecting the wires, it may be necessary to shorten and strip the insulation from the ends. This allows for a proper connection and ensures a reliable electrical flow.
Connect ground wire
The ground wire is a crucial part of the electrical wiring. It provides a path for electrical faults to safely discharge. Make sure to connect the ground wire securely to the system and the main electrical panel.
Connect neutral and hot wires
Properly connect the neutral and hot wires according to the system’s wiring diagram. It is important to ensure that the connections are secure and free from any exposed wires.
Thread wire through hole in panel
To connect the wires to the main electrical panel, you will need to thread them through a hole or conduit. This protects the wires and ensures a clean and organized installation.
Connect wires to ground and neutral bars
Inside the main electrical panel, connect the wires to the designated ground and neutral bars. Make sure to tighten the connections properly to ensure a reliable electrical connection.
Connect black wire to breaker
Finally, connect the black wire from the pressure booster system to the new circuit breaker that was installed specifically for the system. This completes the electrical connection of the pressure booster system.
Testing and Operation
After completing the installation, it is important to test the pressure booster system to ensure it is working correctly and providing the desired water pressure.
Turn on the breaker
To start testing the system, turn on the breaker that controls the power supply to the pressure booster system. This allows electricity to flow and powers up the system.
Allow pump to warm up
Give the pump some time to warm up after turning on the breaker. This ensures that it operates at optimal efficiency and performance.
Monitor pressure build-up
While the pump is running, monitor the pressure build-up in the system. You can do this by checking the pressure gauge on the storage tank or using a separate pressure gauge installed in a convenient location.
Pump should shut off at desired pressure
Once the desired pressure is reached, the pump should automatically shut off. This indicates that the pressure booster system is working correctly and maintaining the desired water pressure in your home.
Conclusion
By following the steps outlined in this article, you can successfully install a water pressure booster system in your home. This installation will result in improved water pressure, ensuring a more enjoyable and efficient water usage experience. Remember to prioritize safety when working with electrical connections and consult a professional if needed. Enjoy your enhanced water pressure!