Understanding the Purpose of a Shut Off Valve
Welcome to the fascinating world of plumbing! Understanding shut off valves is essential for homeowners. These unsung heroes play a vital role in protecting your home. Explore the inner workings of shut off valves, their importance, types, and how they prevent costly plumbing emergencies. From the main valve to individual fixtures, discover how these small devices make a big difference. Join us as we unravel the mysteries of shut off valves and keep your plumbing system running smoothly.
Importance of Shut Off Valves in Safeguarding Plumbing Systems
Shut off valves are often overlooked, yet they are an essential component of your plumbing system. These valves act as gatekeepers, allowing you to control the flow of water to different areas of your home. When a plumbing emergency occurs, such as a burst pipe or a leaky faucet, shut off valves enable you to quickly stop the water supply, minimizing damage and potential flooding. Without shut off valves, even a small leak could turn into a major disaster, causing water damage to your property and leading to costly repairs. Additionally, shut off valves provide convenience by allowing you to isolate specific fixtures or appliances for maintenance or repairs, without disrupting the entire water supply to your home. Their importance cannot be overstated, as shut off valves are the first line of defense against plumbing emergencies.
Shut off valves come in various types, each with its own unique characteristics and applications. Let’s explore the different types of shut off valves and their specific roles in safeguarding your plumbing system.
Different Types of Shut Off Valves
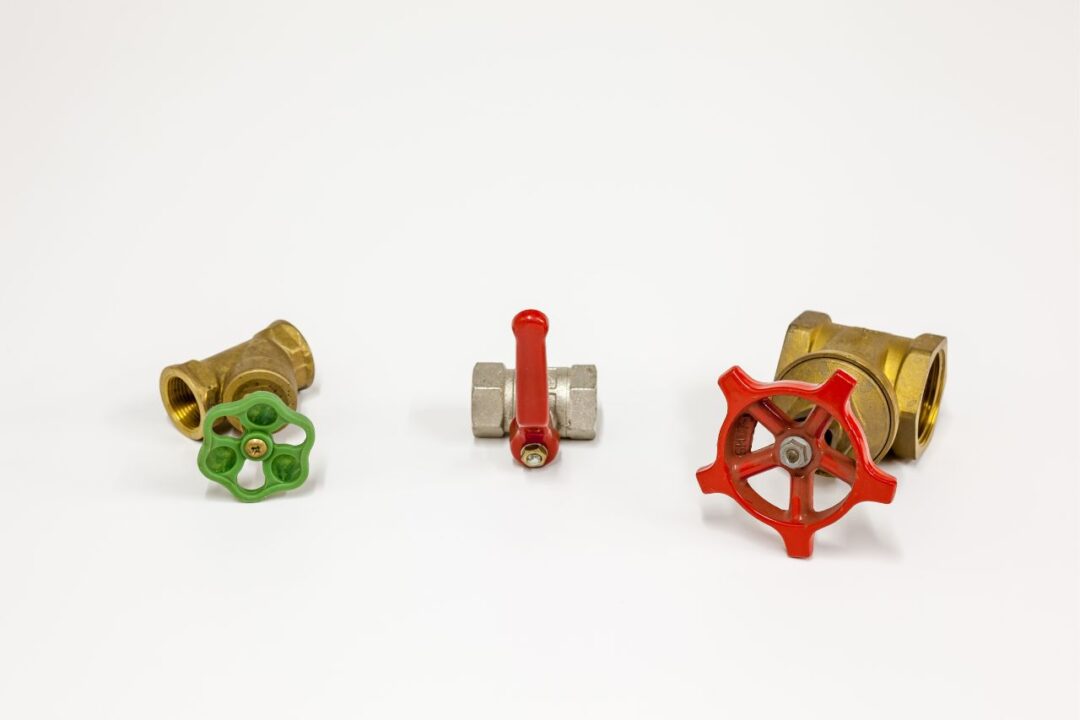
1. Main Shut Off Valve: The main shut off valve is typically located where the water supply enters your home. It controls the entire water flow to your property, making it the most crucial shut off valve in your plumbing system. If a major plumbing emergency occurs, such as a burst pipe, shutting off the main valve can stop the water supply to your entire home, preventing further damage. It’s important to know the location of the main shut off valve and ensure that it is easily accessible in case of an emergency.
2. Fixture Shut Off Valves: These valves are located near individual fixtures, such as sinks, toilets, and showers. They allow you to shut off the water supply to a specific fixture without affecting the rest of your plumbing system. Fixture shut off valves are handy when you need to perform repairs or maintenance on a particular fixture, as they eliminate the need to shut off the water supply to your entire home. Being able to isolate a fixture can save you time and effort, especially in situations where immediate action is required.
3. Appliance Shut Off Valves: Appliance shut off valves are designed specifically for appliances that require a water supply, such as washing machines, dishwashers, and ice makers. These valves allow you to shut off the water flow to a particular appliance, ensuring that any potential leaks or malfunctions do not cause widespread damage. Appliance shut off valves are typically located near the appliance itself or in a nearby wall or floor.
Now that we’ve explored the different types of shut off valves, let’s take a closer look at how these valves actually work.
How Shut Off Valves Work
Shut off valves operate on a simple principle: they either block or allow the flow of water. The specific mechanism varies depending on the type of valve, but the objective remains the same – to control the flow of water.
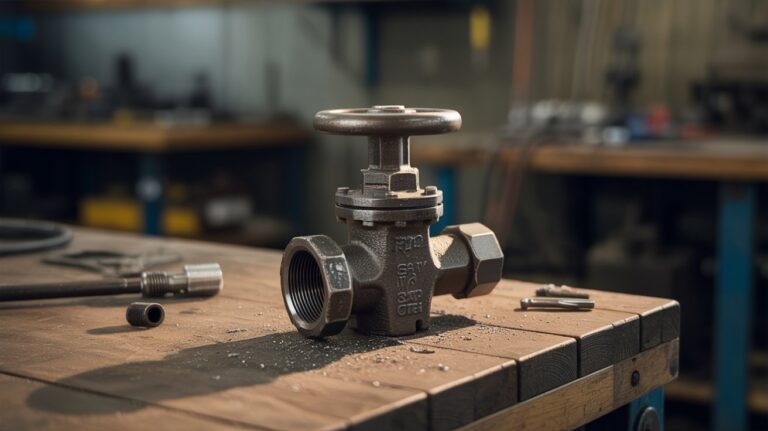
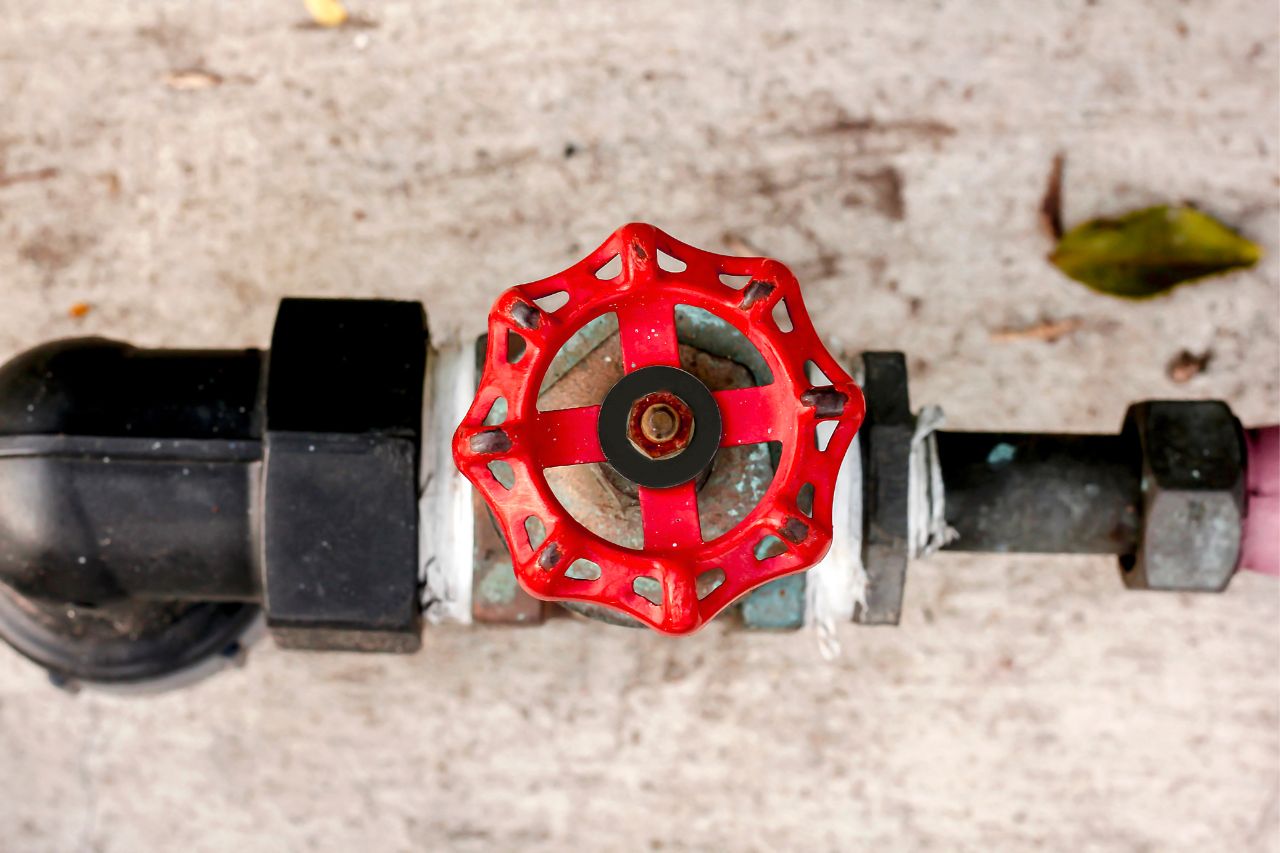
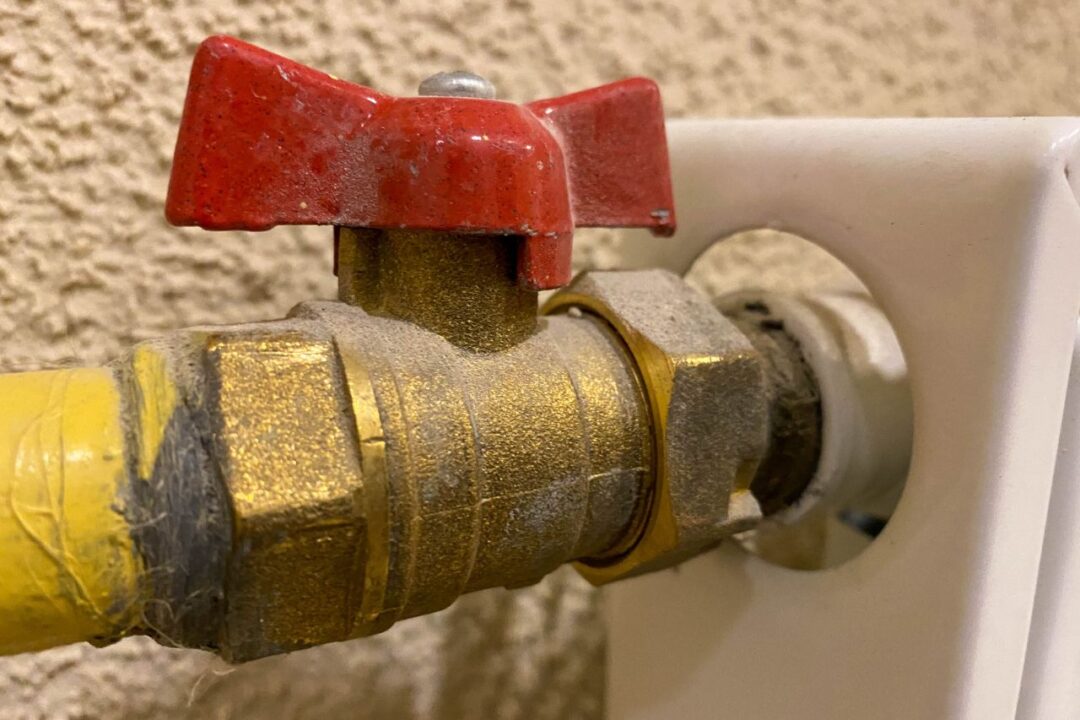
Main shut off valves are typically ball valves or gate valves. Ball valves have a lever handle that, when turned 90 degrees, opens, or closes a ball inside the valve body. When the lever is perpendicular to the pipe, the valve is closed, and water cannot flow through. Gate valves, on the other hand, have a round wheel handle that operates a gate inside the valve. Turning the handle clockwise lowers the gate, blocking the water flow, while counterclockwise raises the gate, allowing the water to flow through.
Fixture shut off valves are often compression valves or quarter-turn valves. Compression valves use a compression nut and a rubber washer to create a watertight seal. When the nut is tightened, the washer presses against the water pipe, blocking the flow of water. Quarter-turn valves, as the name suggests, require only a quarter turn to open or close. These valves have a ball or a ceramic disc inside the valve body that rotates with the turn of the handle, controlling the water flow.
Appliance shut off valves can be compression valves, quarter-turn valves, or even solenoid valves. Solenoid valves are electronically controlled valves that use an electromagnet to open or close the valve. They are commonly found in appliances that require automatic water shut off, such as dishwashers and ice makers. When the appliance signals the valve to close, the electromagnet is energized, shutting off the water flow.
Understanding how shut off valves work is essential, but it’s equally important to recognize the signs that your shut off valve may be faulty.
Signs That Your Shut Off Valve May Be Faulty
1. Difficulty Turning the Valve: If you find it challenging to turn the valve handle or it feels stiff, it could be a sign of a faulty shut off valve. Over time, valves can become corroded or develop mineral deposits, making them harder to operate. This can be problematic during an emergency when you need to quickly shut off the water supply. If you notice any resistance or difficulty in turning the valve, it’s a good idea to have it inspected and potentially replaced.
2. Leaking or Dripping: A shut off valve should create a watertight seal when fully closed. If you notice any water leaking or dripping from the valve, it indicates a faulty seal or a damaged valve. Even a small leak can lead to significant water damage over time, so it’s crucial to address the issue promptly. Ignoring a leaking shut off valve can result in costly repairs and potential mold or mildew growth.
3. Water Pressure Issues: If you’re experiencing low water pressure or inconsistent water flow, a faulty shut off valve could be to blame. When the valve is not fully open, it restricts the water flow, causing reduced pressure. This can be particularly noticeable when using fixtures or appliances that are downstream from the shut off valve. If you’ve ruled out other potential causes of low water pressure, such as clogged pipes or a faulty water pump, it’s worth checking the shut off valve.
Now that we’ve covered the signs of faulty shut off valves, let’s explore the crucial role these valves play in preventing water damage.
The Role of Shut Off Valves in Preventing Water Damage
Water damage can be devastating, leading to structural issues, mold growth, and costly repairs. Shut off valves act as a first line of defense against water damage by allowing you to quickly stop the flow of water in case of a plumbing emergency. Whether it’s a burst pipe, a faulty appliance, or a leaking fixture, shutting off the water supply can minimize the extent of damage and give you time to address the issue.
The main shut off valve is particularly crucial in preventing water damage during emergencies. By shutting off the water supply to your entire home, you can effectively stop the flow of water and prevent further damage. It’s essential to locate the main shut off valve and ensure that it is in proper working condition. Regularly inspecting and testing the main shut off valve can save you from potential disasters and costly repairs.
Fixture and appliance shut off valves also play a significant role in preventing water damage. By shutting off the water supply to a specific fixture or appliance, you can isolate the problem area and prevent water from spreading throughout your home. This can be invaluable when dealing with leaks, malfunctions, or repairs. Being able to quickly shut off the water flow to a specific area can save you time, money, and the headache of extensive water damage.
Now that we understand the importance of shut off valves and their role in preventing water damage, let’s dive into how to locate and operate these valves in your home.
How to Locate and Operate Shut Off Valves in Your Home
Knowing the location of shut off valves in your home is essential for quick action during a plumbing emergency. Here are some tips to help you locate and operate shut off valves:
1. Main Shut Off Valve: The main shut off valve is usually located near the water meter or where the main water supply enters your home. It may be in the basement, crawlspace, utility room, or outside near the foundation. Look for a valve that is larger than the other valves in your plumbing system. In colder climates, the main shut off valve may be inside to protect it from freezing. Ensure that you can easily access the valve and familiarize yourself with its operation.
2. Fixture Shut Off Valves: Fixture shut off valves are typically located beneath or behind the fixture they serve. For sinks and toilets, the shut off valve may be located in the cabinet or behind an access panel. Showers and bathtubs often have shut off valves accessible through an access panel or in the basement or crawl space below. Look for small valves with a handle or a round wheel. Turn the valve clockwise to close and counterclockwise to open.
3. Appliance Shut Off Valves: Appliance shut off valves can vary in location depending on the appliance. For washing machines and dishwashers, the shut off valve is usually located behind the appliance or in a nearby wall or floor. Ice makers may have shut off valves behind the refrigerator or in a nearby cabinet. Consult the appliance’s manual or look for visible pipes and valves to locate the shut off valve. Follow the manufacturer’s instructions for operating the valve.
By familiarizing yourself with the location and operation of shut off valves in your home, you’ll be prepared to take quick action in case of a plumbing emergency. However, it’s essential to be aware of common shut off valve problems and how to troubleshoot them.
Common Shut Off Valve Problems and How to Troubleshoot Them
1. Leaking or Dripping: If a shut off valve is leaking or dripping, it could indicate a faulty seal or a damaged valve. Start by tightening the valve gently to see if that resolves the issue. If the leak persists, the valve may need to be replaced. Turn off the water supply to the valve, drain any remaining water, and remove the valve using the appropriate tools. Replace the valve with a new one of the same type and size, ensuring a proper watertight seal.
2. Stiff or Difficult to Turn: If a shut off valve is stiff or difficult to turn, it may be due to corrosion or mineral deposits. Start by lubricating the valve with a silicone-based lubricant, as other lubricants may damage the valve components. If lubrication doesn’t solve the problem, the valve may need to be replaced. Follow the same steps as for a leaking valve to remove and replace it.
3. No Water Flow: If a shut off valve is fully open, but no water is flowing, there may be a blockage or obstruction in the pipe or valve. Start by checking for any visible blockages and clearing them if possible. If the issue persists, you may need to call a professional plumber to diagnose and resolve the problem. It’s important not to force the valve open or closed, as this can cause further damage.
Regular maintenance and servicing of shut off valves can help prevent common problems and ensure their proper functioning. Let’s explore some tips for maintaining and servicing shut off valves.
Maintaining and Servicing Shut Off Valves
1. Regular Inspections: Periodically inspect shut off valves for any signs of leaks, corrosion, or damage. Look for any visible issues, such as water stains, rust, or mineral buildup. Address any problems promptly to prevent further damage.
2. Operation Checks: Test shut off valves periodically to ensure they are in proper working condition. Turn the valves on and off to make sure they operate smoothly without any resistance or leakage. If you notice any issues, such as difficulty turning the valve or water leakage, take appropriate action to resolve the problem.
3. Lubrication: Apply a silicone-based lubricant to shut off valves to keep them operating smoothly. Avoid using petroleum-based lubricants, as they can degrade rubber seals and other valve components. Follow the manufacturer’s instructions for lubrication frequency and use.
4. Professional Servicing: If you’re unsure about the condition of your shut off valves or if you encounter any significant issues, it’s best to seek the assistance of a professional plumber. A trained plumber can inspect, service, and repair shut off valves as needed, ensuring their proper functioning and preventing potential plumbing emergencies.
Final Thoughts
In closing, shut off valves are the unsung heroes of your plumbing system, playing a crucial role in safeguarding your home from potential disasters. Understanding the different types of shut off valves, how they work, and how to locate and operate them is essential for every homeowner. By recognizing the signs of faulty shut off valves, you can take proactive measures to prevent water damage and costly repairs. Regular maintenance and servicing of shut off valves will help ensure their proper functioning and prolong their lifespan. So, the next time you turn off a shut off valve, remember the vital role it plays in keeping your plumbing system running smoothly.
Remember, shut off valves are not just small devices; they are the guardians of your plumbing system, protecting your home from potential disasters. So take the time to appreciate their importance and ensure they are in proper working condition. Your home and your wallet will thank you!