DIY Water Well: Harnessing the Power of a Sledge Hammer
In the enthralling video titled “Driving the Pipe Deep with a Hammer Cap,” Silver Cymbal presents a comprehensive step-by-step guide on drilling your very own well using a sledgehammer.
This DIY project offers an opportunity to access unlimited free water right in your backyard. The well installation process, demonstrated with basic tools, ensures the provision of water for various purposes, such as gardening, household use, and maintaining lawns.
However, before commencing the drilling process, it is crucial to reach out to dig safe or the local authority to mark out underground lines and potential hazards, ensuring safety throughout the project.
Silver Cymbal highlights the significance of checking water resources related to groundwater, offering local information and contextual relevance.
It is important to note that while the video provides valuable insights, Silver Cymbal cannot guarantee against any improper use or modifications of the information, and therefore, users assume responsibility for any property damage, injury, or loss.
By following safe practices when handling machines and tools, individuals can successfully install their own well, harnessing the benefits of off-grid, cost-effective water supply solutions.
A sandpoint well, similar to a straw, functions by drawing water from deep underground. The installation process involves using pipes with threaded ends, commonly with a diameter of 1.25 inches.
Silver Cymbal recommends utilizing a special well coupling with unique threads for connecting the pipes seamlessly. To ensure the cleanliness of the pipes, it is essential to remove any oil residue present by cleaning their insides.
Selecting a suitable location for the well, considering accessibility and proximity to the water table, plays a vital role in the project’s success. Employing a post hole digger helps prepare the hole by eliminating obstacles like rocks and roots from the upper soil layers.
With varying water table levels in different regions, tapping into the groundwater becomes more manageable, especially in areas with a high water table. As the first step, installing the well point involves inserting it into the hole, allowing approximately a foot of pipe to extend above the ground.
Ensuring a secure connection, the next step involves applying pipe dope to the threads and tightening the coupler effectively. Driving the well pipe deep into the ground can be achieved using a smash cap or hammer cap with the assistance of a sledgehammer.
To extend the well point below the water table, additional sections of pipes can be attached. Verifying the presence of water is essential to determine the success of the well installation.
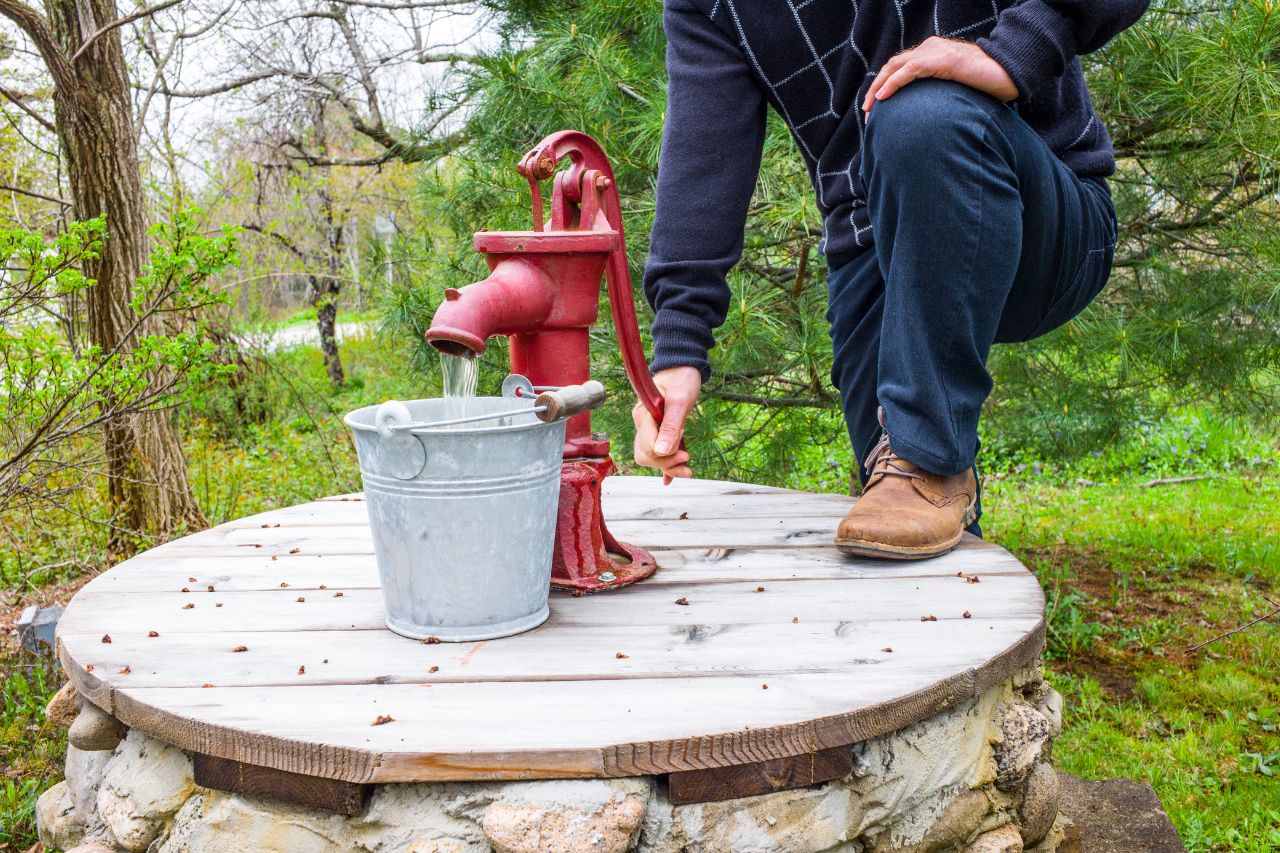
Water drawn from the sandpoint well, either through a pitcher pump or an electric pump, may take some time to become clear but remains safe for non-drinking purposes. However, it is crucial to have the water tested before considering it for consumption. For optimal efficiency, electric pumps can be installed on sandpoint wells.
In conclusion, the intriguing video “Driving the Pipe Deep with a Hammer Cap” by Silver Cymbal showcases a simple yet remarkable way to install your own well using basic tools, ensuring a cost-effective and reliable supply of free water for various needs.
By following the step-by-step instructions provided, individuals can tap into the groundwater and enjoy the benefits of an off-grid water system.
However, it is important to exercise caution, adhere to safety practices, and assume responsibility for any potential risks or damages that may arise from the improper use or modifications of the information presented in the video.
With the potential for unlimited free water, this DIY well installation is an appealing and accessible option for individuals seeking self-sufficiency and sustainability.
Driving the Pipe Deep with a Hammer Cap
Installing your own well can be a rewarding project that provides you with access to a reliable and cost-effective source of water. However, to ensure a successful installation, it is crucial to properly drive the pipe deep into the ground. In this section, we will discuss the importance of using a hammer cap and techniques for achieving deep penetration.
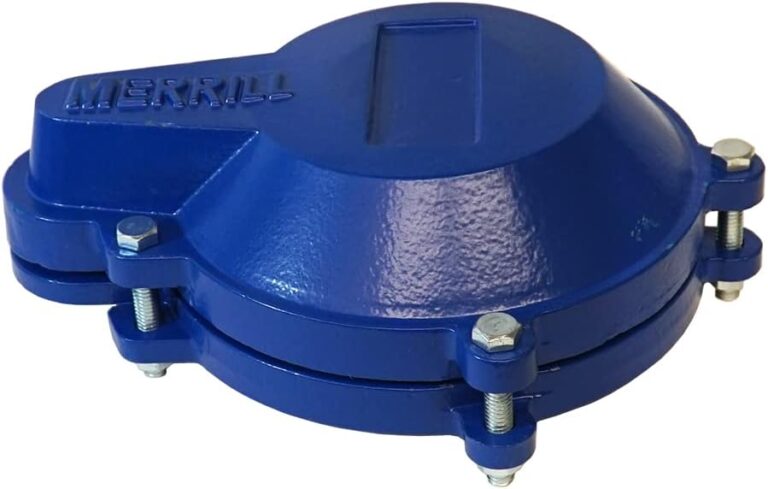
Using a Hammer Cap
When it comes to driving the pipe, a hammer cap is an essential tool that can greatly facilitate the installation process. A hammer cap is designed to fit onto the top of the pipe and serves as a striking surface for your hammer. By delivering powerful blows to the cap, you can drive the pipe further into the ground, increasing the depth of your well.
When using a hammer cap, it is important to choose a hammer that provides enough weight and force to effectively drive the pipe. A heavy-duty hammer with a fiberglass or wooden handle is typically recommended. Make sure to wear appropriate protective gear, such as safety goggles and gloves, to minimize the risk of injury during the hammering process.
Ensuring Deep Penetration
To achieve deep penetration, there are a few key techniques that you should employ while using the hammer cap. First, it is important to hold the hammer firmly to maintain control and accuracy. Position yourself in a stable stance, distribute your weight evenly, and aim for the center of the cap when striking.
As you strike the hammer cap, apply consistent and forceful blows, taking care not to rush the process. Gradually increase the force with each strike, allowing the pipe to sink deeper into the ground. It may be necessary to reposition the hammer cap occasionally to distribute the impact evenly and avoid any potential damage to the cap or the pipe.
Throughout the installation, periodically check the depth of the pipe using a measuring tape or a dedicated well measurement tool. This will help you ensure that the pipe is reaching the desired depth for optimal water supply. It is important to remember that the required depth may vary depending on factors such as the geology of your area and local regulations.
Additionally, consider the soil conditions in your location. Some soil types may be more challenging to penetrate than others. If you encounter particularly hard or compacted soil, you may need to apply additional force or consider alternative methods such as using a well driver or renting equipment specifically designed for driving pipe into tough ground conditions.
By following these techniques and using a hammer cap effectively, you can confidently drive the pipe deep into the ground, maximizing the efficiency and effectiveness of your well installation.

Extending the Depth of the Well
In some situations, you may find it necessary or desirable to extend the depth of your well beyond the initial installation. This could be due to factors such as fluctuating water levels, increased water demand, or changing environmental conditions. In this section, we will discuss the process of extending the depth of your well to ensure a reliable water supply.
Assessing the Need for Extension
Before deciding to extend the depth of your well, it is important to assess the need for such an expansion. Consider factors such as the current water level, the frequency of water usage, and any changes in water demand that may have occurred since the installation. Consulting with a well professional or local authorities can provide valuable insights and guidance.
Equipment and Tools
Extending the depth of your well requires specific equipment and tools to effectively complete the task. Some of the commonly used tools include a well driver, a driving cap, a pipe puller, and pipes of the appropriate length. These tools can be purchased or rented from well supply companies or hardware stores.
The Extension Process
The process of extending the depth of your well involves several key steps. First, you will need to remove the well cap and any existing piping above the desired extension depth. This can be done using a pipe puller or a similar tool. Once the existing piping is removed, clear the area around the well to ensure easy access.
Next, using the well driver and driving cap, carefully insert the new lengths of pipe into the well. It is important to ensure a secure and watertight connection between the existing pipe and the extension pipe. Apply pipe dope or a similar sealing compound to create a tight seal and prevent any leakage.
As you drive the new pipe into the ground, periodically measure the depth to ensure that you are reaching the desired extension length. Similar to the initial installation process, use a hammer cap and a heavy-duty hammer to deliver forceful blows, gradually driving the pipe deeper into the ground.
Once the extension pipe is installed to the desired depth, reconnect any necessary piping and secure the well cap back in place. Perform a thorough inspection to ensure that all connections are tight and leak-free.
Additional Considerations

When extending the depth of your well, it is essential to follow any local regulations or guidelines regarding well construction and maintenance. Some areas may require permits or specific procedures for altering the depth of a well. Consulting with a well professional or local authorities can help you navigate these regulations and ensure compliance with all applicable requirements.
Regular maintenance and monitoring of your well after the extension is also crucial to ensure its continued functioning and efficiency. Keep an eye on water levels, check for any signs of leaks or issues, and address any necessary repairs or adjustments promptly.
By extending the depth of your well, you can adapt to changing water needs and ensure a reliable supply for years to come. However, it is important to approach this process with caution, seek professional guidance when needed, and adhere to all relevant guidelines and regulations.